Thursday, July 31, 2014

it's neverending...

Last weekend we had our neverending card class. I am so impressed by the gals who came and tried and failed and then kept trying until they got IT!  This isn't the easiest thing to do but if you will keep at it and try over and over I promise you will get IT!

"Hey Michele!  What's a never-ending card?" 

It is a card that you can just keep folding over and over and over and it keeps revealing a different side! 

Let's get into it...Lets learn how to make these!

If you got one of our amazing never-ending card kits you have twelve (12) sheets of G45 papers to decorate your cards, three (3) completed card bases, three (3) cut card bases and 6 half sheets of cardstock.  If you didn't get the kit you will need 12X12 cardstock and printed papers to decorate.

 
This post is picture heavy so take your time!


Cut a strip of cardstock 6" wide x 12" long....any cardstock or printed paper will work.
 
Score cardstock 1 1/2" from each long edge.
 
Cut into four 3" pieces across the width.

fold along the score lines
 
 
flatten back out again.  When you lay out your cards you will line up two sections at a time.
Using either washi tape or painters tape you will line up to sections and tape them together with the long edges lined up to make a 6" x 6" square.  You will need two of these for each card.  Lay your first joined piece tape down on your work surface with the center horizontal.
 Line up a second square and lay it over the first section with the center going vertically and the tape on the top.
 
 
Using a really good glue (no glue sticks please) like zip dry we will glue at the four corners.
 
 
Fold back the top piece to reveal the corners underneath...put glue at the corners only and put the top piece back in place over the bottom piece

I hope this is making sense...you are gluing two 6" squares together at the corners...the centers of the bottom piece runs horizontally and the center of the top piece runs vertically.
 
When your glue has set you will open and fold. 
Opening your card for the first time will be stiff...don't create a new fold! Just fold along the existing score lines.  Crease well with a bone folder.
First open in the middle to the sides as shown above
 
 
Second fold is up and down and this is what it will reveal (above)
 
 
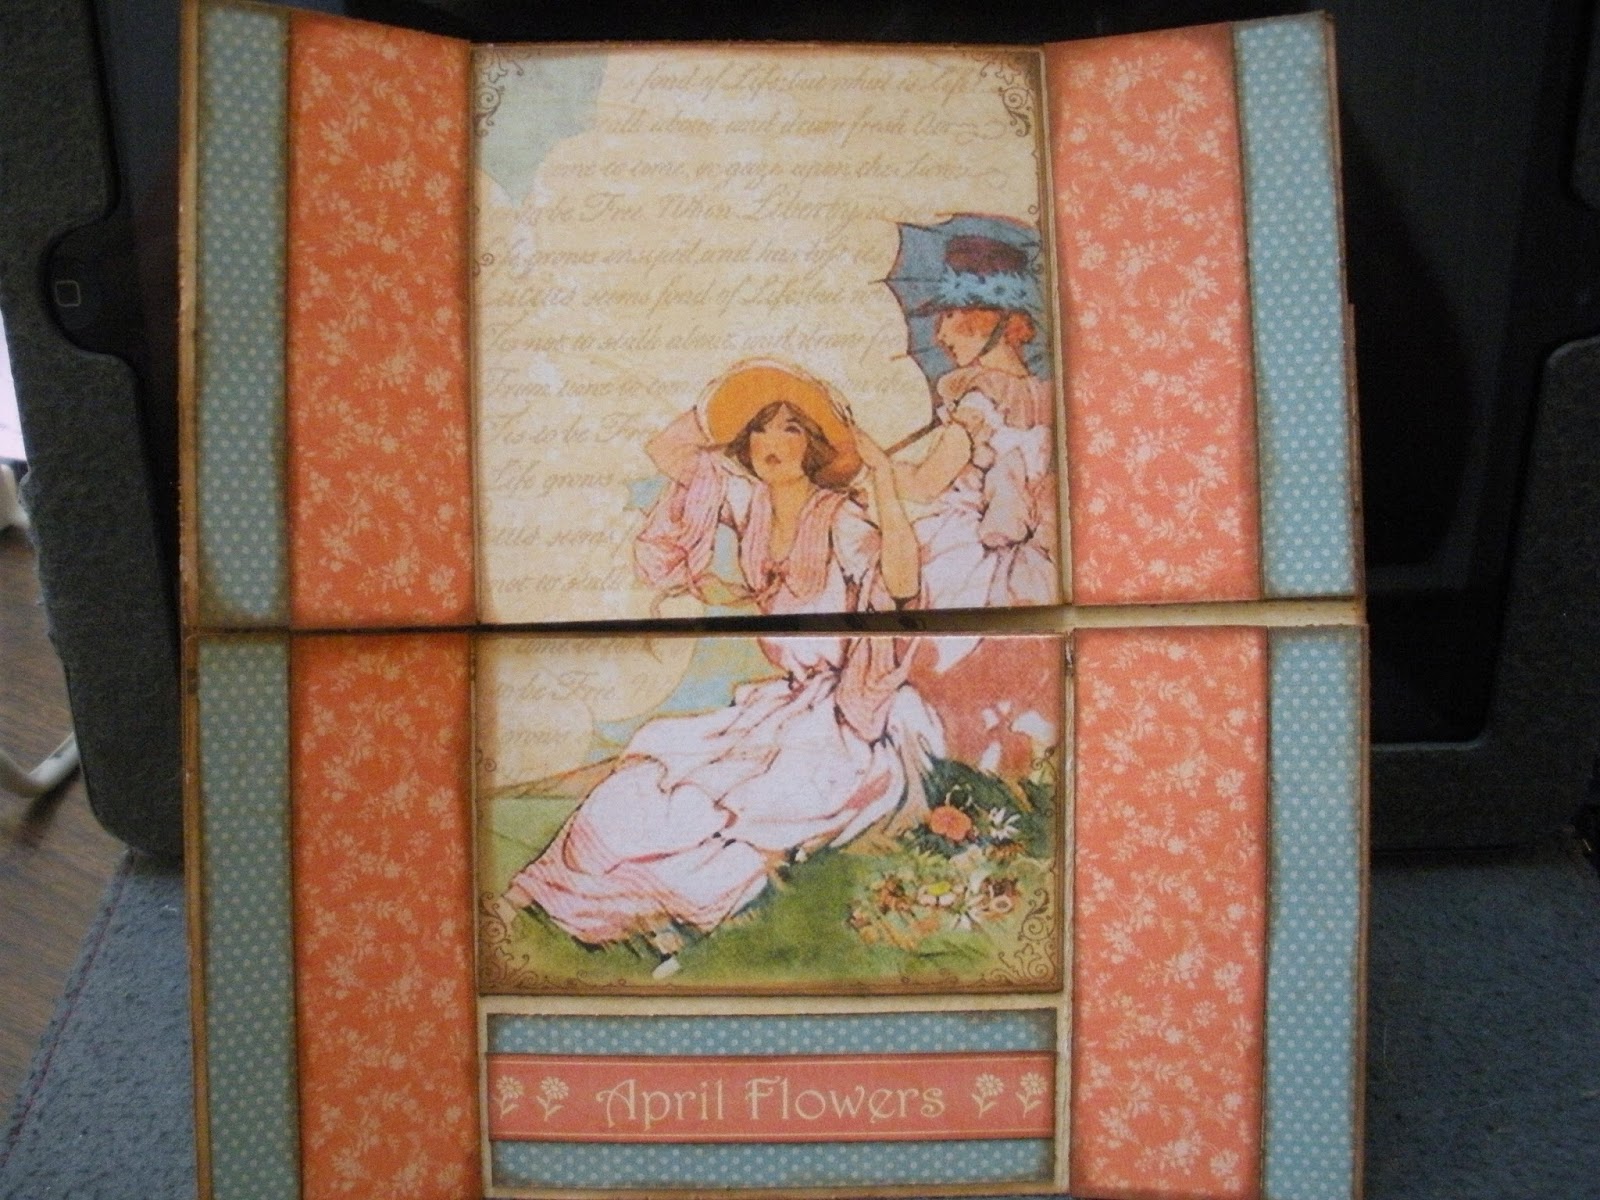
Third fold is side to side again and will reveal this (above)
 
the last fold is up and down and back to the beginning again...now it is time to decorate!
 
Now lets walk through some decorated cards...
 1.

2.

3.

4.
 
This card is built on a black base.  I used a few extra scraps of paper I had at my desk to flesh it out and fill it in.
 
Decorating your cards requires you to really know your measurements...You will need the following pieces to decorate a card
8 - 2 7/8"squares
8 - 1 3/8" squares
8 - 1 3/8" x 2 7/8" rectangles
 
Card 2
1.

2.

3.

4.
 
This card is built on a brown base...I punched a decorative edge along the front of the card with an EK Success border punch.
Tip:  Use both sides of your papers to decorate.
 
Card 3
1.

2.

3.

4.
 
This card was built on one of the premade bases (I am sorry you do not have March premade...we didn't have enough paper so choose one of the others.)  Your March will be done on the green cardstock.
 
Card 4


This is built on one of the printed paper bases you will put together...so cute!
 
Card 5
1

2. 

3.

4.
This card is built on a kraft paper base. Sorry I didn't turn the last picture the right direction...oops!
 
Card 6
1.

2.

3.

4.
 
This card is built on a black base and again I used some paper scraps I had around to fill it out!
 
Card 7
1.

2.


3.
 
4.
 
This is another card that is built on a printed paper background...this time try some layering and popping up some pieces. Ready...Set...Go!
 
Card 8


1.

2.

3.

4.
 
This built on one of the premade card bases. I think you will rock this card!
 
Okay...I have helped you through eight cards...these last three are up to you to create!
 
Have fun and if you have any questions just leave them on this blog
 always,
michele

Tuesday, July 22, 2014

Girlfriends is coming to Boise!

Are you Ready to get your Inky On?

We are coming to Boise for one day for a very special Inky Fingers Workshop!

For years our Girlfriends have been asking us to bring a little of the Girlfriends experience to them...the time is finally right and we will be in Boise Friday August 15th to teach one of our most popular Inky Fingers Workshops.

We are creating a very special Tim Holtz Folio.  You will learn to use stains, distress inks, burlap, distressing tools and much much more!

We will be holding this workshop at the Boise Public Library on Capital from 10:30-5:30 on the 15th of August.
We must be on time because we are on the Library schedule so please plan to be on time. Please bring a camera to take pictures of the project in case you don't finish everything.
We have to be out of the Library by 5:30 so we can clean up and leave the library as we found it.

We have room in this workshop for 24 students.

This workshop filled to capacity in Twin Falls just two weeks ago...let's see if our Boise Girlfriends are equally excited!

Sample of the Workshop Project outside


Sample Project Inside
 
Girlfriends Inky Fingers Workshop Kit- Early Registration
Your workshop kit will serve as your registration for this workshop.
(anyone registering after the 7th of August will pay the full workshop price of $65.)
Cost for the kit is $57.95
The kit will include all the materials to create this project.  Everything will be ready for you including pre-stamped tags, ribbons galore, papers, the folio itself and loads of Tim Holtz Ideology trinkets to add to your folio.  Michele and Lisa will be right beside you helping you make this project come to life!
All registration must be done through PayPal.

 
You will need to bring the following supplies in order to complete your project:
 
Scissors
Paper Trimmer
Stapler (we recommend the Tim Holtz Tiny Attacher by any stapler will do)
extra staples
Adhesive (we recommend both Zip Dry and 3 in 1 for this project)
Vintage Photo Distress Ink Pad
Tim Holtz Blending tool
Felt pads for blending tool
Tim Holtz Distress Stains in Worn Lipstick, Broken China, Peeled Paint and Wild Honey
Chestnut Roan Cats Eye Chalk Pad
Paper Piercer
Small Spray Bottle with Water
Camera to take project pictures.
Michele has requested that everyone brings treats (fruit, goodies, whatever you choose) to share!
(I love a little treat as I teach!)
 
Just in case you can't find what you need in Boise
 
Girlfriends Adhesive Pack
Includes 1 bottle of Zip Dry and 1 bottle of 3 in 1
$13.95 
 
Girlfriends Stain Pack
Includes 1 bottle each of 4 Tim Holtz Distress Stains
(Worn Lipstick, Broken China, Peeled Paint and Wild Honey)
$22.00 
Girlfriends Ink Pack
Includes 1 Tim Holtz Distress Ink Pad (Vintage Photo), 1 Blending Tool, 1 Chestnut Roan Cats Eye Chalk Pad and 10 felt pads
$13.95 


Zip Dry 2-Pack
Two bottles of Zip Dry Adhesive
It's Girlfriends Favorite!
$15.25

Lunch with Girlfriends 
Because we are all going to be working like crazy and time is so limited we are asking you to either bring your lunch or have lunch with us from Jimmy Johns.  There will not be time to leave the area and go to lunch! We will have lunch at approximately 1pm outside on the lawn at the library.  If you would like us to order your lunch for you just add it to your paypal cart.  You have your choice of sandwiches.
You will bring your own beverage with a lid!  There will probably be soda machines either in the library or close by but you must have your own beverage and it must be lidded!
$7.00
Turkey or Ham?
 

Keep your eye on this blog for additional details and updates!

We are so excited to be taking this workshop to you!  Please join us for a wonderful day of art and laughter and friendship!
 
always,
Lisa and Michele

P.S. If you haven't already joined us on the Girlfriends Rock Facebook Group
This is the place to hear about all that is happening at Girlfriends!