
You know me and you know I love making mini albums especially when I can make them a bit unexpected!
This little book is filled with surprises!
Supplies you will need to complete the kit
Scissors,
Adhesive,
Foam tape or pop dots
chalk pad or any distressing ink for the edges of the pieces
pencil
large hole punch
KIT for the project from Girlfriends
The cover is easy...Take the corresponding paper, trace the shape from the book in the kit, cut out, ink edges and glue to the cover of the book. Next add the strip of corrugated paper (ink edges of course), put together the turkey (add a little dimension by putting some foam tape or a pop dot under the top of the leg), add the title.
Page 1

Page 2
Cut the round page out of the appropriate paper. I think it is traced there but if it is not I have included patterns. Put the clock together...I hand wrote the numbers and the tag. Put the Turkey legs together and using a brad attatch them to the page in the center.

Page three: back of circle page

Page 4:
Page 5

Page 6&7 are little heart pages for journaling!

Page 8
This is a pocket page
The stripe is a pocket. You will cut out the scallop and then cut it to fit the page. The little scalloped embellishment is on one of the little cards in the kit.

Page 9

Page 10 - tag page
Use the pattern to cut the little bracket and add it to the page.
Cut the Heart and Home circle from on of the little cards and pop it up on the page

Page 11 - back of tag page
Repeat the bracket and cut out the little house from one of the cards and pop it up on the page

Page 12- I took the thankful card and adhered it to the page at the top and bottom to create a pass through for the tag.

Page 13

Page 14 - house page.
Cut the house from the embossed cardstock and then add the roof.
The heart and the quote are popped up

Page 15 & 16 -
Decorate the inside of both houses as shown

Page 17
Back of house card

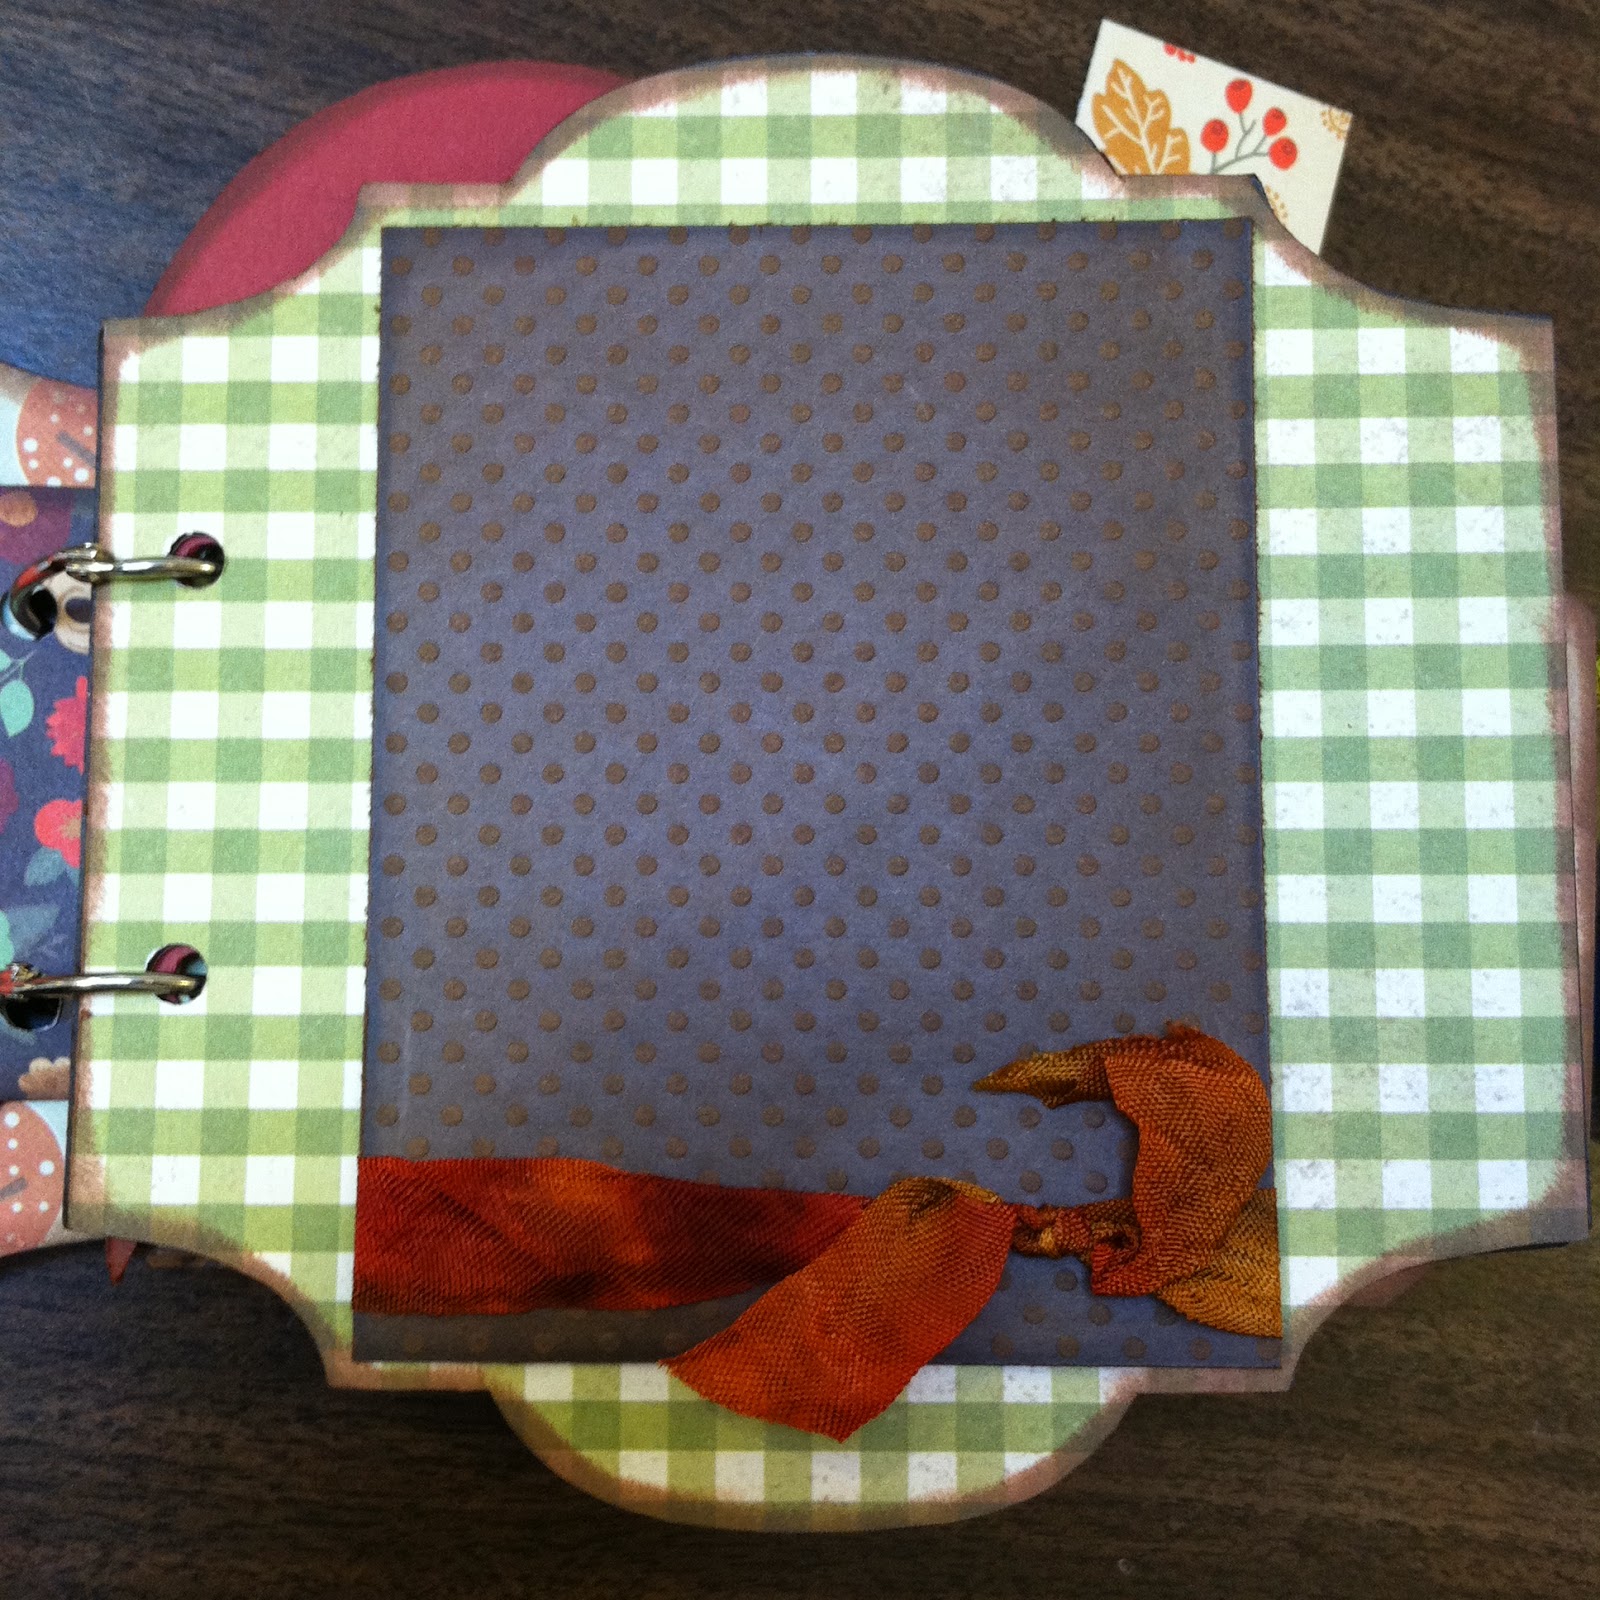
Page 18 - The mat is layered as shown

Page 19

Page 20 is just a little journaling card

Page 21
Use two tags to create a gate fold...decorate and tie them together
Glue a double mat behind the gatefold

Page 22

Page 23 - another round page...The little journaling card is a pocket to hold a second journaling card

Page 24 - back side of the round page is another pass through

Page 25

Page 26

Page 27 is another tag page - front

and back

Page 28
Construct the background as shown and hinge the tag so you can put a picture behind the tag.

back cover
leave a little love note for whomever you are giving this book.

I love this one....
ReplyDelete