

This kit is filled with beautiful papers, embellishments and ribbons for you to play with. The papers have been scored for you but you will need to fold them and crease them with a bone folder or some other tool. You will need to have the following supplies:
Adhesive
Score-tape or the extra strong red tape
Bone folder
Scissors
Long reach cropodile or an eyelet setting tool
Ruler
Pencil
Border punch
Foam tape or pop dots
1/8” hole punch
Ink to distress the edges of your papers
Etc.
There is one sheet of paper with an envelope traced onto it. Please cut this out and ink the edges front and back.
CONSTRUCTING BOOK COVER:

I used score-tape for the next step. Any good tape will work including the red tape or a really good tape gun. It should be a permanent adhesive. I like a 1/2” width for constructing the book.

 On the spine piece put three rows of tape being sure that the outside pieces are along the edge of the chipboard.
On the two large pieces the tape is on the inside edge only
Repeat for both sides.
Remove the protective paper from the tape and center the chipboard on the small spine piece. I used the light side on the outside and the dark side on the inside. Press firmly to get a good adhesion.
At this time turn this piece over and mark the outside with a pencil to have a guide for punching.
Make a line 2 1/2” from the top and bottom.
Make a mark at the center of each line and three marks 1/4” apart on each side of the center on both lines. You will punch at each of these marks. I like to use the small hole punch in the cropadile or a small eyelet setter hole. You will be threading ribbon through this hole but you don’t want the holes to be too large.
See diagram to the left. This is a good time to punch these holes but be ware you will have to punch them again when you have put the inside paper in place.


 Remove the protective paper from the tape on the side pieces and secure those pieces next to the spine leaving a generous 1/8” gap between the pieces. Fold the sides in to crease the spine.
Next remove the five (5) remaining pieces of protective paper and center the inside spine piece pressing to secure the paper. Fold the sides in to crease the spine again.
Using either tape or glue put the inside cover papers in place. Repeat for the front cove and back cover
As shown in the pictures I have inked the edges on all these pieces before putting them in place.
Set the cover aside after you have punched the binding holes.


There are seven (7) page sets in this book. We will go through them one by one.
Page Set 1:


Inside page set 1

With the lite blue side facing you punch the right edge with a border punch. After you have punched the edge you will put washi tape, (in your kit) along the punched edge and the score line on the left side. Fold along the score line and crease. Ink the edges of the page set front and back and fold along all the score lines.
This is how you will put the front of this page together. Do not add the elements to the flap until you have finished the front of the flap.


Next punch three holes equal distance apart for the pearl brads. Put the pearl brads on the page. Now you can add the blue herringbone print to the inside and finish the inside of the page.
To finish the front of the flap you will add the brad set shown below to the page. I traded out a snowflake brad for the cute bear...I also inked the edges of the paper pieces.


This is the inside of this page set. Put it together as shown. While you are here you can also punch holes 2 1/2" from the top and bottom on the fold to allow you to tie the page into your book.
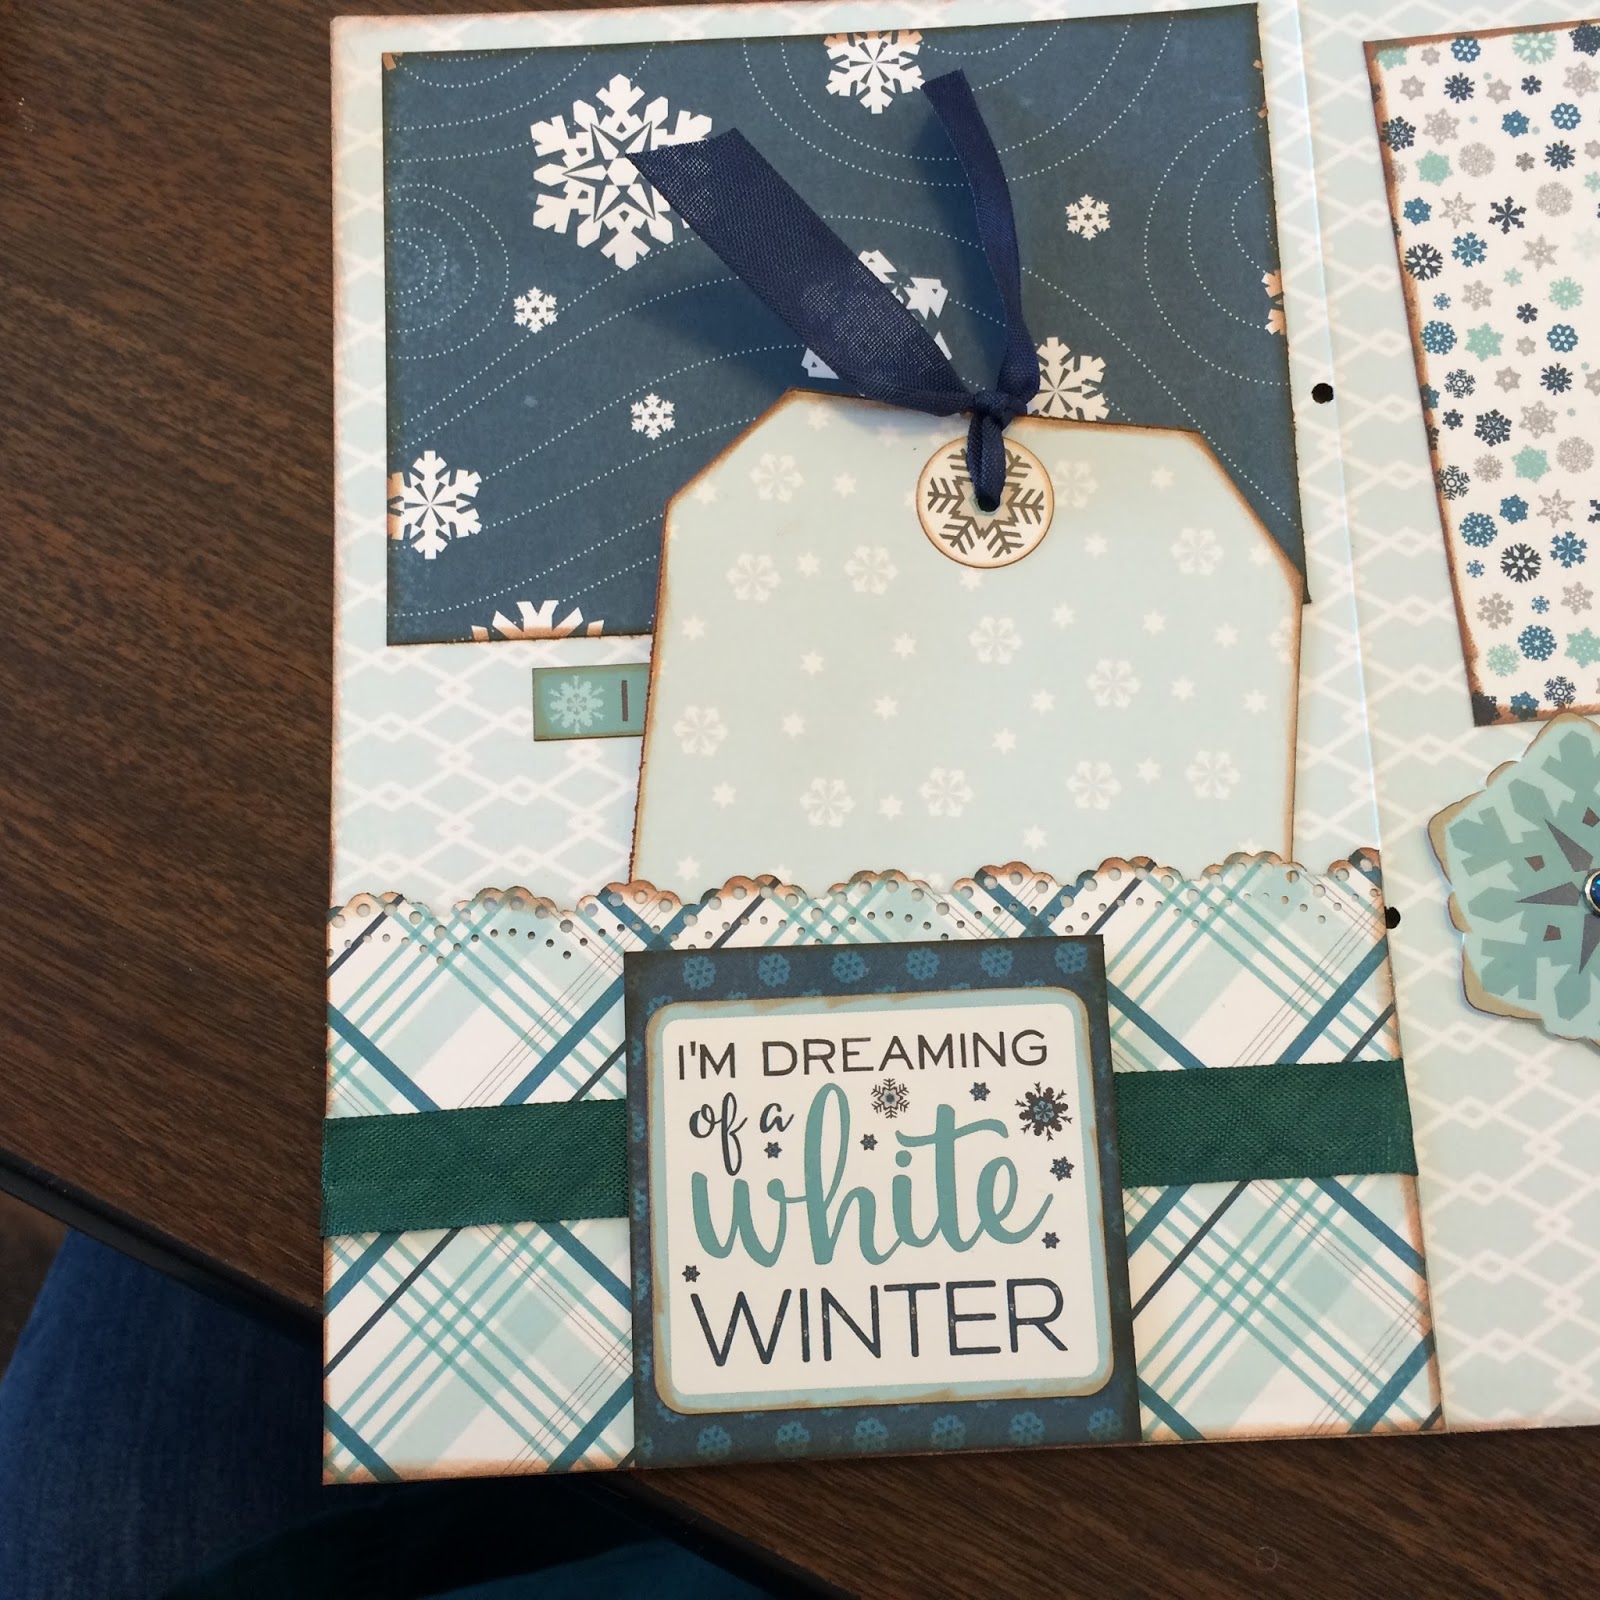
On the back you will add the plaid piece as a pocket. I punched the top edge with a border punch and wrapped a piece of teal ribbon across the front and glued to the back. Glue the pocket in place on three sides and add the tag. For the tag I used a snowflake sticker as a hole reinforcer. Add ribbon to the tag and finish as show
Adding pages to your book:


To add pages to your book and I think it is easiest to add them as you finish them, cut a piece of any ribbon 18" long. Thread it through the two holes you punched in your page. You will need to have the same amount top and bottom. Thread through the first two holes in the spine of the book. Tie in a knot and then tie a bow. I use fray-chek on the bow to keep it from coming untied. Cut your ends at an angle and add fray-chek on the ends to keep it from raveling.
Page Set 2:


 |
| Inside of page set 2 and back of page set two. |
Fold the page on the fold lines and crease well.
Punch the long front edge with a border punch as shown.
Add the mat and the journaling piece to the front of the book. Add enamel dots to this piece.
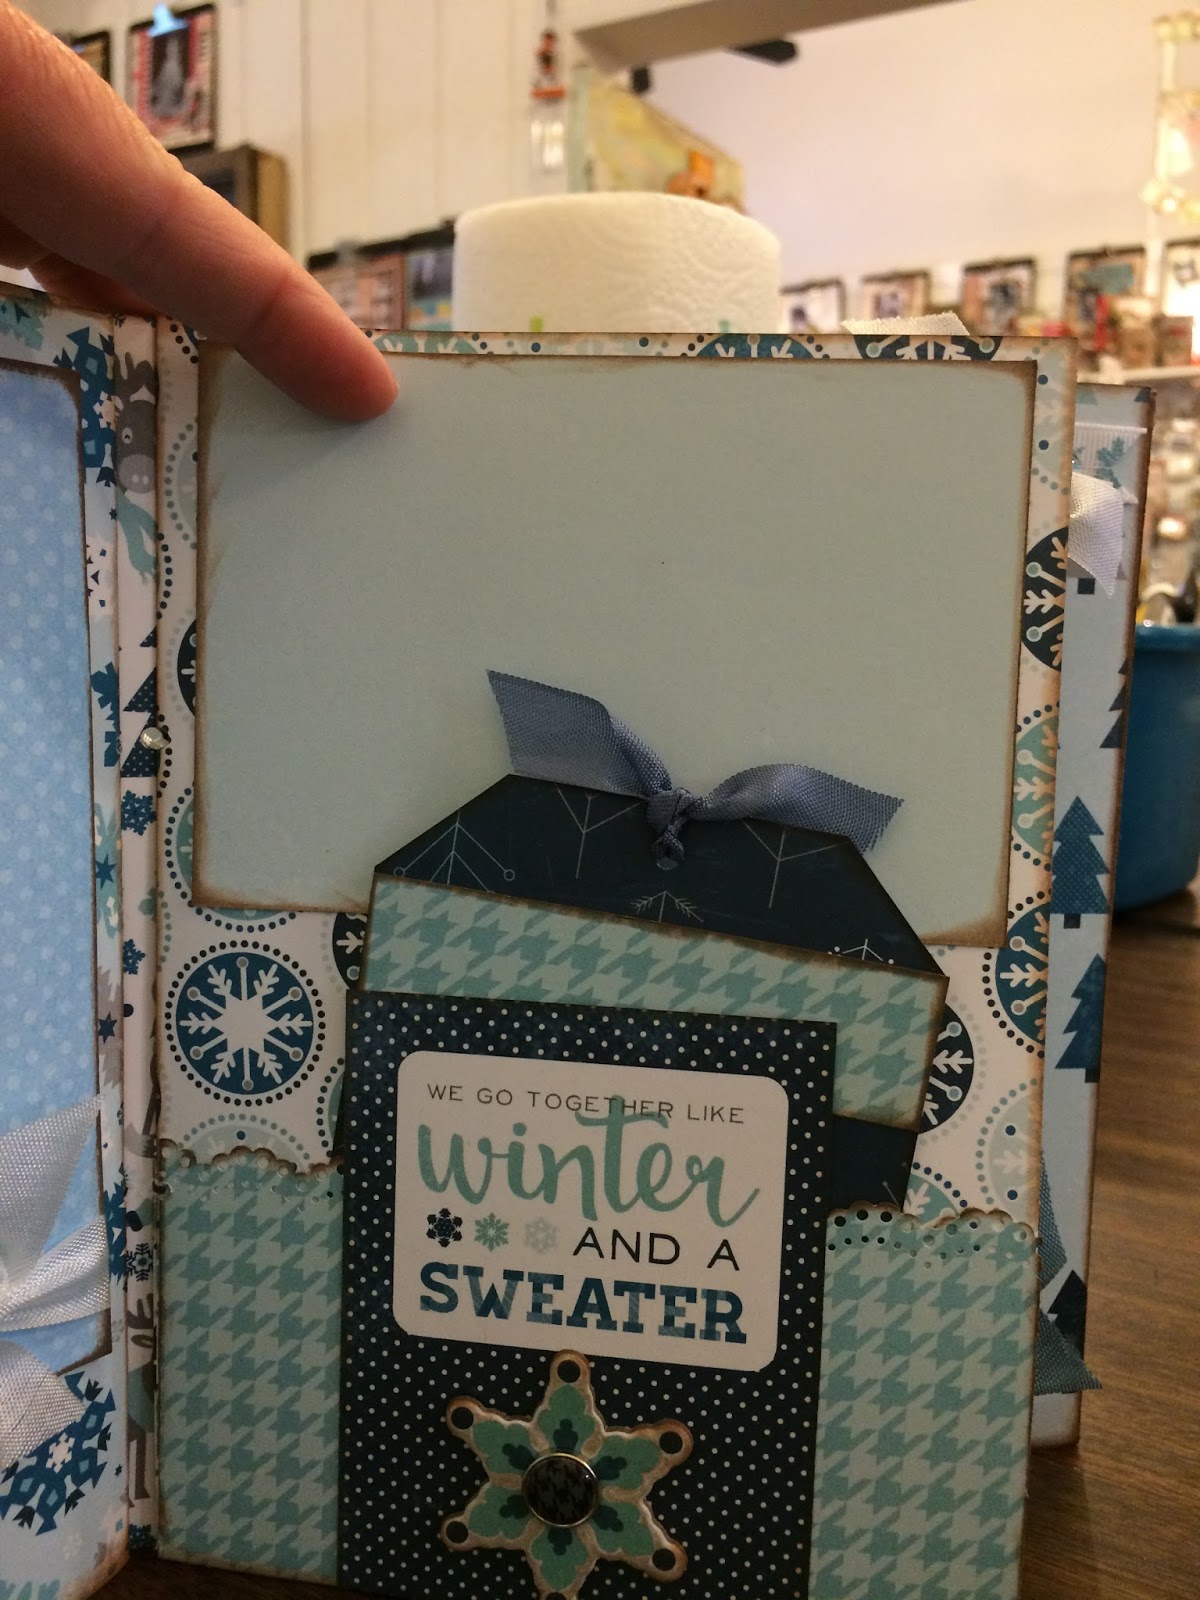
Add the "cold weather" piece to the flap.
On the inside punch the long edge of the pocket. Fold the pocket up and glue on the two short sides.
Add the mats and tag as shown. Add the square embellishment as shown.
Back of Page Set 2...I punched the long edge of this page before I folded the pocket up.
Fold pocket as shown. Glue on the two short sides
Add the "walking" sticker (pop it up) and the penguin sticker (pop it up). Add the hat sticker to the penguin's head...DONE!
Tie page into the book
Page Set 3: Envelope
   |
If you have not cut out the envelope do so now. Fold and crease along all the score lines. Do Not glue it together yet.
Punch the holes to tie it into the book along the left side score line (mugs down)
Tie the page into the book as previously instructed.
Fold the bottom fold up and the sides over.
Glue the sides to each other and across the bottom.
Decorate as shown above.
Page 4:


- Fold and crease along all the score lines. Ink the edges front and back.
- The front of this page set is a long pocket.
- Fold the page back on itself and then fold down the corner.
- Glue along the long edge and across the bottom. I have used 1/8" score-tape to make all my pockets. There is no ooze and the pockets hold very well.
- Using the long grey piece make a tag and put it into the pocket. You may need to trim it to fit
- Punch the holes for binding along what is now the center fold. Finish as shown.
- Inside there are four mats on the page. There are two small on the left side pocket and two large on the right side. I have added the card piece folded in half in the center. After folding this piece you will punch it to line up with the punches on the page for binding.
- On the back fold up the pocket.
- Punch along the long edge of the pocket with a border punch
- Glue the short sides to secure.
- Decorate as shown.
- Run the ribbon through the holes as shown and tie the page into the book.


Page 5:
You will see now where I have the same pages repeating. Fold and Crease your page and ink the edges front and back. Decorate each page as shown. The only little difference is that you will back the snowglobe sticker with the dark paper. Cut around it leaving a shadow. Pop it up in place.
I also added the rhinestone brads to the banner and inked the edges.
Page 6:

This page has three pockets! One front, one back and one photo mat that doubles as a pocket.
Fold and crease along the fold lines and ink your edges front and back.
Add all the elements as shown. You may have discovered by now that some of the snowflakes and other pieces do not have brads in them. I added those bits and pieces to dress mine up. I also added glitter ink to some elements using a glitter pen.
Punch holes to bind and tie into your book.
Page 7:


Very similar to the previous page but there are a few little tips.
- Cut the pocket shape for the front pocket
- Tie ribbon around the brads as a little decorative detail
- Fold down the corner to the back pocket and add the square and the sticker on top.
- Decorate the tree with tiny enamel dots
- The border sticker on the inside will work better if you cut it in half.
- Pop up all the stickers
- Punch the holes on the center fold and tie page into the book
Inside Front and Back Covers


The inside front cover is so easy. You will use your stickers to create a sweet winter scene.
Highlight with a clear glitter pen if you have one.
The inside back cover has a photo mat and a piece of snowman ribbon with rhinestone brads at the ends. I used score-tape to secure it to the page.
At the bottom of the page I added a journaling sticker and two mittens popped up.
Front Cover:
See the picture below to see how I decorated the front of my book. Please remember this is your book and if you want to make your different I would love it!
I like mine just as it is but you may want to do something different!
No comments:
Post a Comment