Every so often an idea collides with a product line and a very simple idea becomes a very special project which in time, I hope, will become a family treasure.
Welcome to Merry Little Christmas


Welcome to Merry Little Christmas
I want to tell you how this began. Lisa saw a pin on Pinterest. It was a little tea light that had been turned on its side and made into a snowman. She told me about the pin and I started playing with the idea. Lisa is a much better shopper than I am and she found some little top hat ornaments to add to the tea lights. I found some little snowflakes in our stash of left over Christmas goodies and that started in motion the creation of this little book.
If you were lucky enough to get a kit I am delighted for you...if you were not that lucky you can still create this little book following the instructions here and if you can find the Candy Cane Lane Collection of papers and stickers and embellishments from Bo Bunny. This has been an extremely popular collection and we have sold out at Girlfriends but you can look online to see what you can find.
The base of the book is 5"X8". It has been cut into a pennant. If you have the kit you have the pattern for this.
Let's start with the cover.
For your cover you will use the two pieces of corrugated paper in your kit. This is a natural colored corrugated paper. You will paint the corrugate white using a craft paint. I did this very dry so some of the corrugate shows through. In these pictures I have used a printed paper to make things show up better.
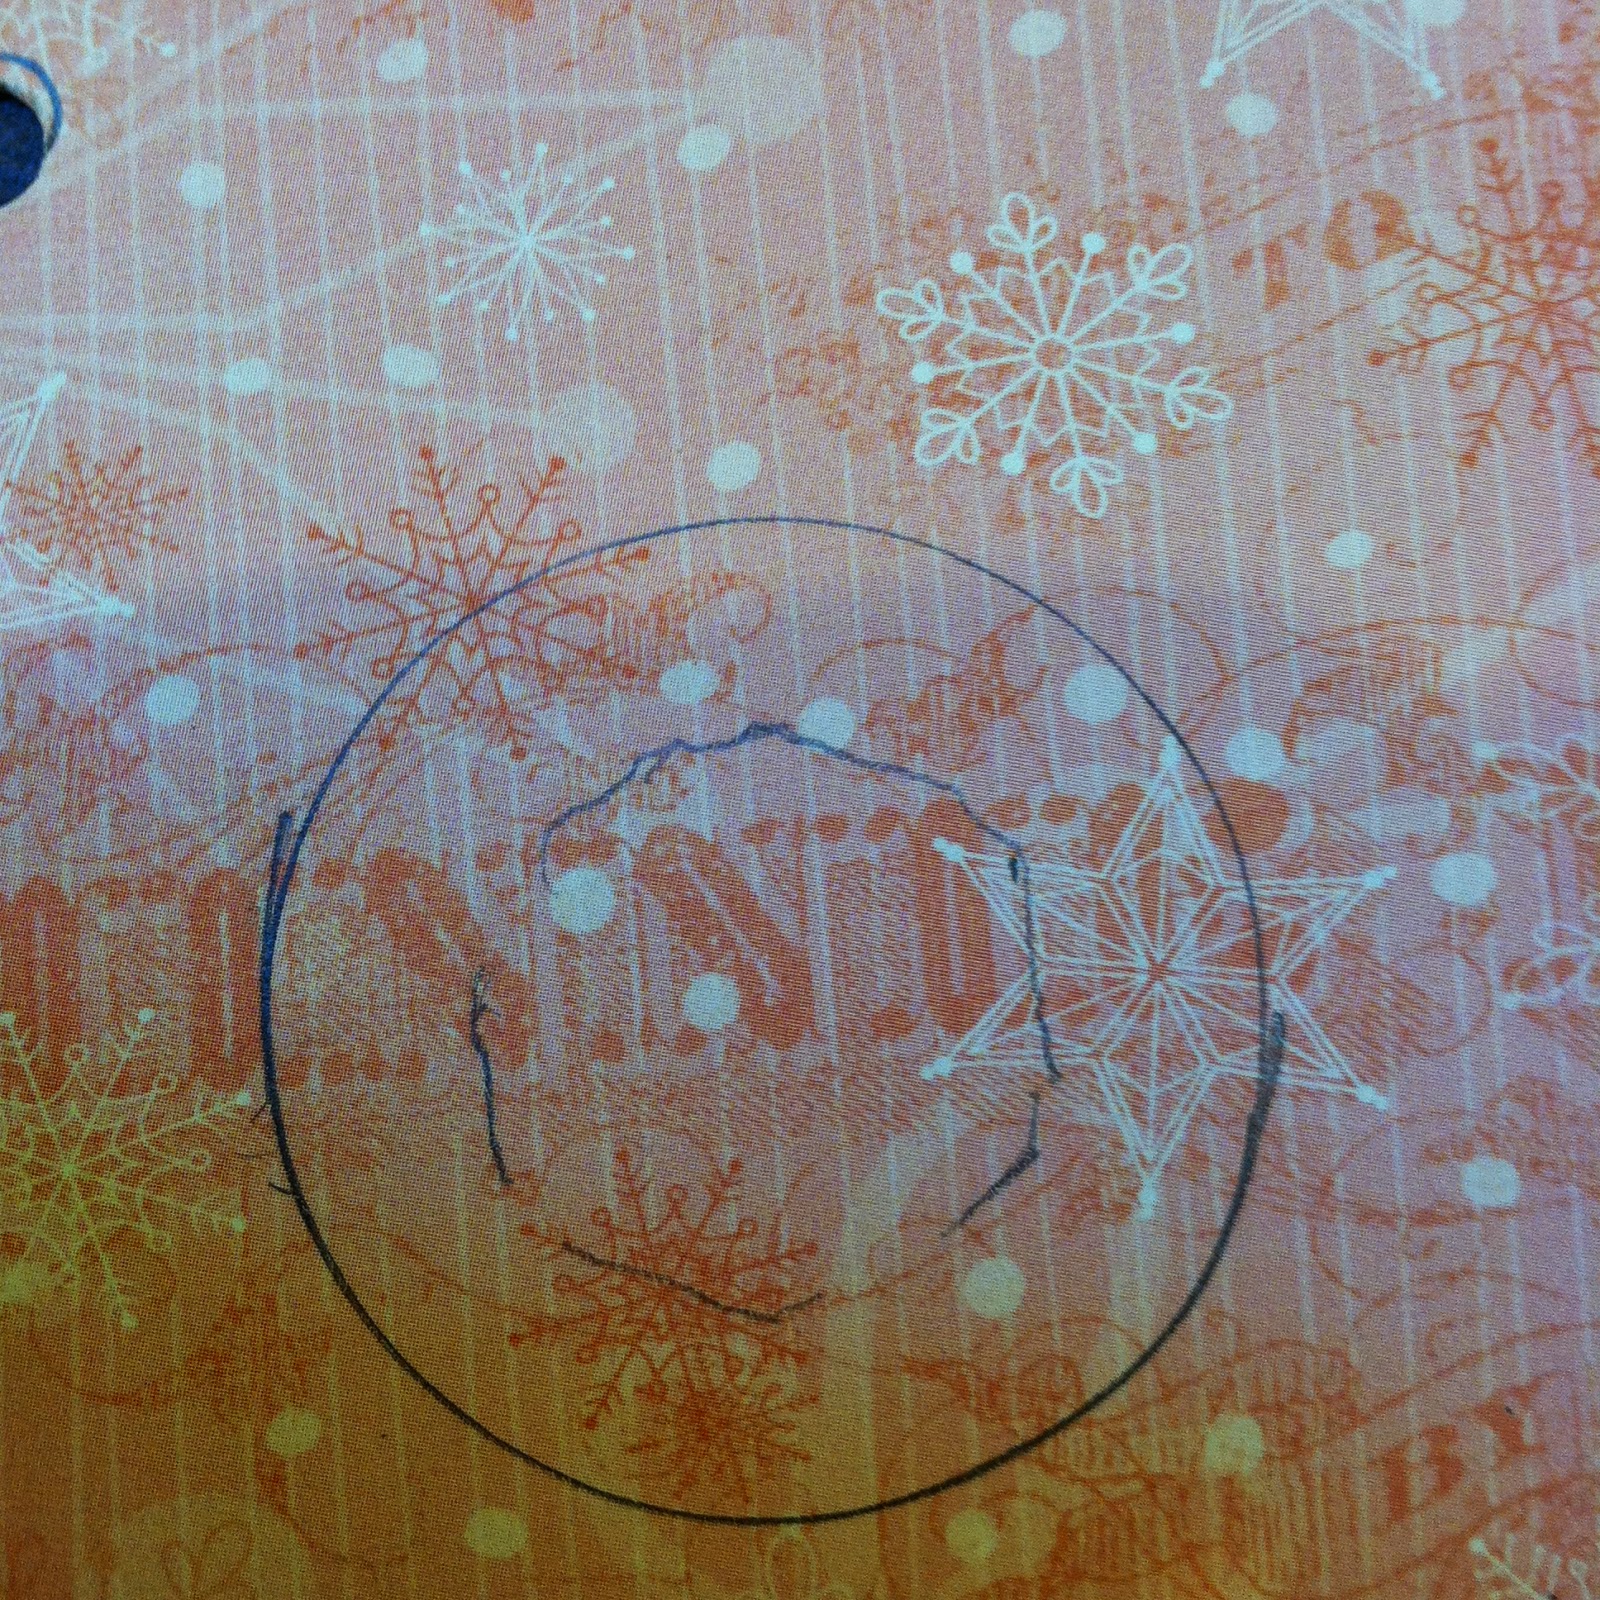
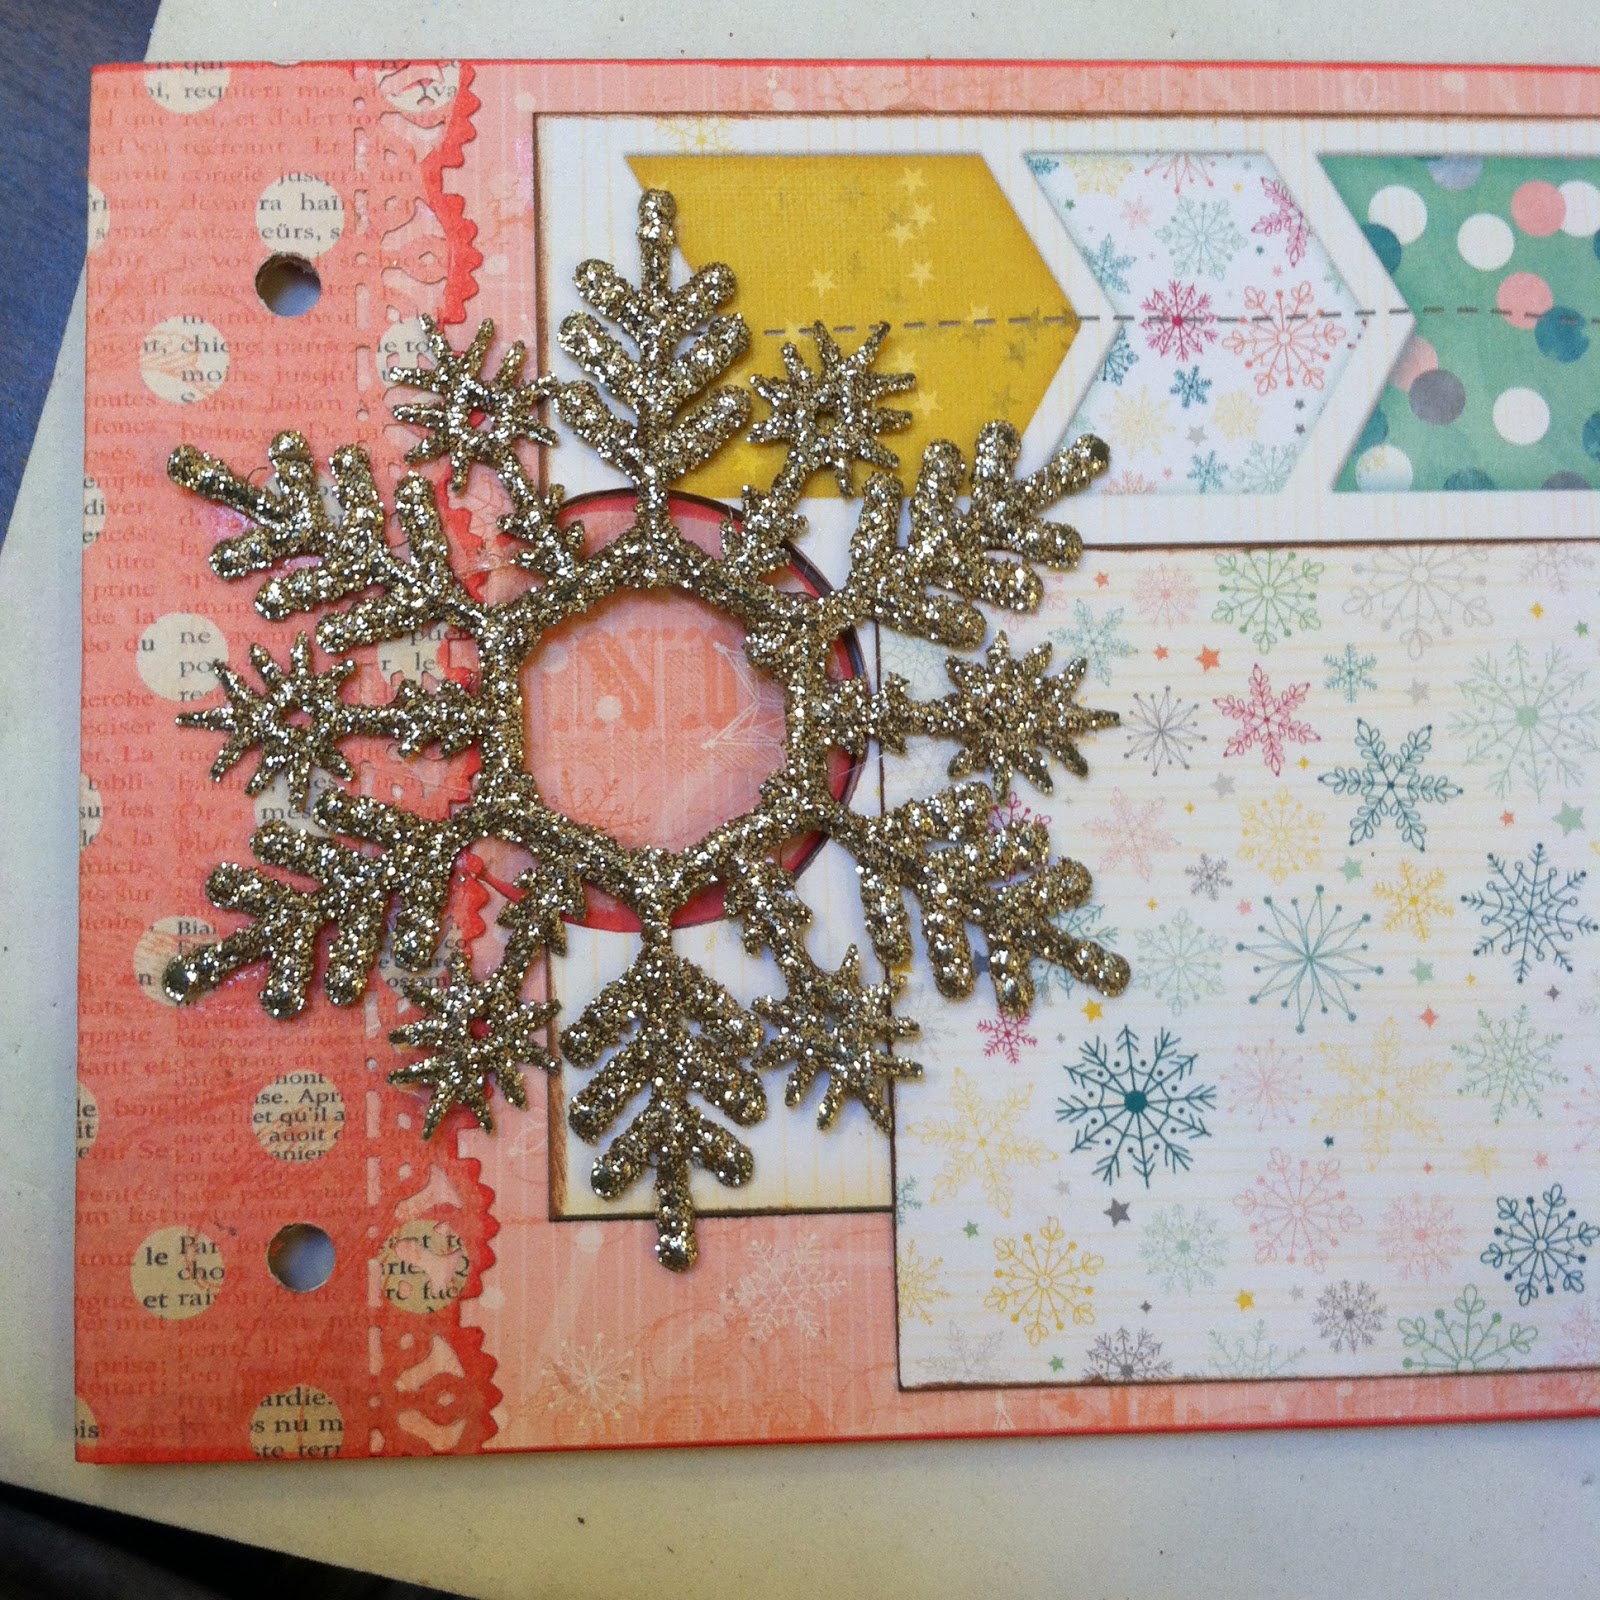
Cut out the center of your snowflake with scissors or clippers. Position your snowflake on the front cover (see picture at top of this page for correct placement. Using a pencil trace around the inside of the snowflake. Set snowflake aside
Center your tea light over the area you traced and draw around the tea light.
In your kit you will find a scored piece that will fit over the edge of the cover. I think I edged this piece with a border punch but if I did not please take the time to punch both long edges of this piece. Fold along score line and then flatten out again. Glue the front half in place only. Be sure to ink your edges on everything throughout this book.
As you can see in the picture the border may lie slightly over the circle you traced. That is fine!
Using an exacto or craft knife cut along the outside pencil line. Do not cut into the border.
This photo is on the inside of the cover. I have folded the cut out to form a hinge.
This is the inside cover.
glue the little strip that will lift the flap to turn the light on and off.
Glue your inside cover paper in place as shown
Find this card on your element sheet and after you have cut it out and inked it glue it to the inside over only along the right side edge. The border you have punched will glue over this edge and the card will fold back to form a flap to cover our access hole.
Totally upside down! Glue the border edge over the edge of the card and add a little strip to lift this flap. If you must stand on your head to see this...I am sorry but I may or may not get back to this to turn it right side up!
When you lift the card you will place a small photo mat on the back side of the card, a small mat next to the access flap and you are done with the inside of your front cover.
Fit this card on the front of your book. Cut around the access hole.
Layer this small piece of printed paper over the card and tear away the edge to mimic the edge of the pennant. If you are using rings to bind your book punch those holes now. If you are using a Zutter Bind-It-All (we used that in the workshop) punch just six holes in the center of the binding edge.
If you are using the bind-it-all skip this step until you have bound the book. If you are using rings you can add the snowflake over the access hold now.
Using craft paint and a stylus make a little face on your tea light, (if you have the kit I have done this for you)
Add a hat or earmuffs or a little hat of some kind and pink rhinestones for cheeks.
We will add our snowman as a last step.
Inside your book!
General Instructions:
Cut each page into the pennant
Ink all your edges
Punch each page to bind before adding stickers and embellishments and tags to pockets.
Add ribbons where shown.
Border punch pieces where shown
If you have the kit you will have all the parts and pieces for this book precut and in order. You should not have to do much trimming if any at all. If a piece does not fit please look for the one that does. If you cut down a piece to fit you will probably be creating a problem for yourself later in the project.
Add the "no peeking" sticker above Santa
This is a better look at the inside of your cover
Page 1
Again if you have the kit this page is already cut although you will need to cut the pennant edge. Punch your holes for binding and add the layered Santa sticker to the page. I wrote a little poem to give a little fun to the book but you can add a picture here if you prefer.
Backside of page 1
I have added pockets or something on almost every page. The pocket is glued on only three sides leaving the left edge open for a tag The mat on the page is one of the cards from the element sheet.
The snowman is a sticker as is the Christmas ornament and the element at the top of the tag.
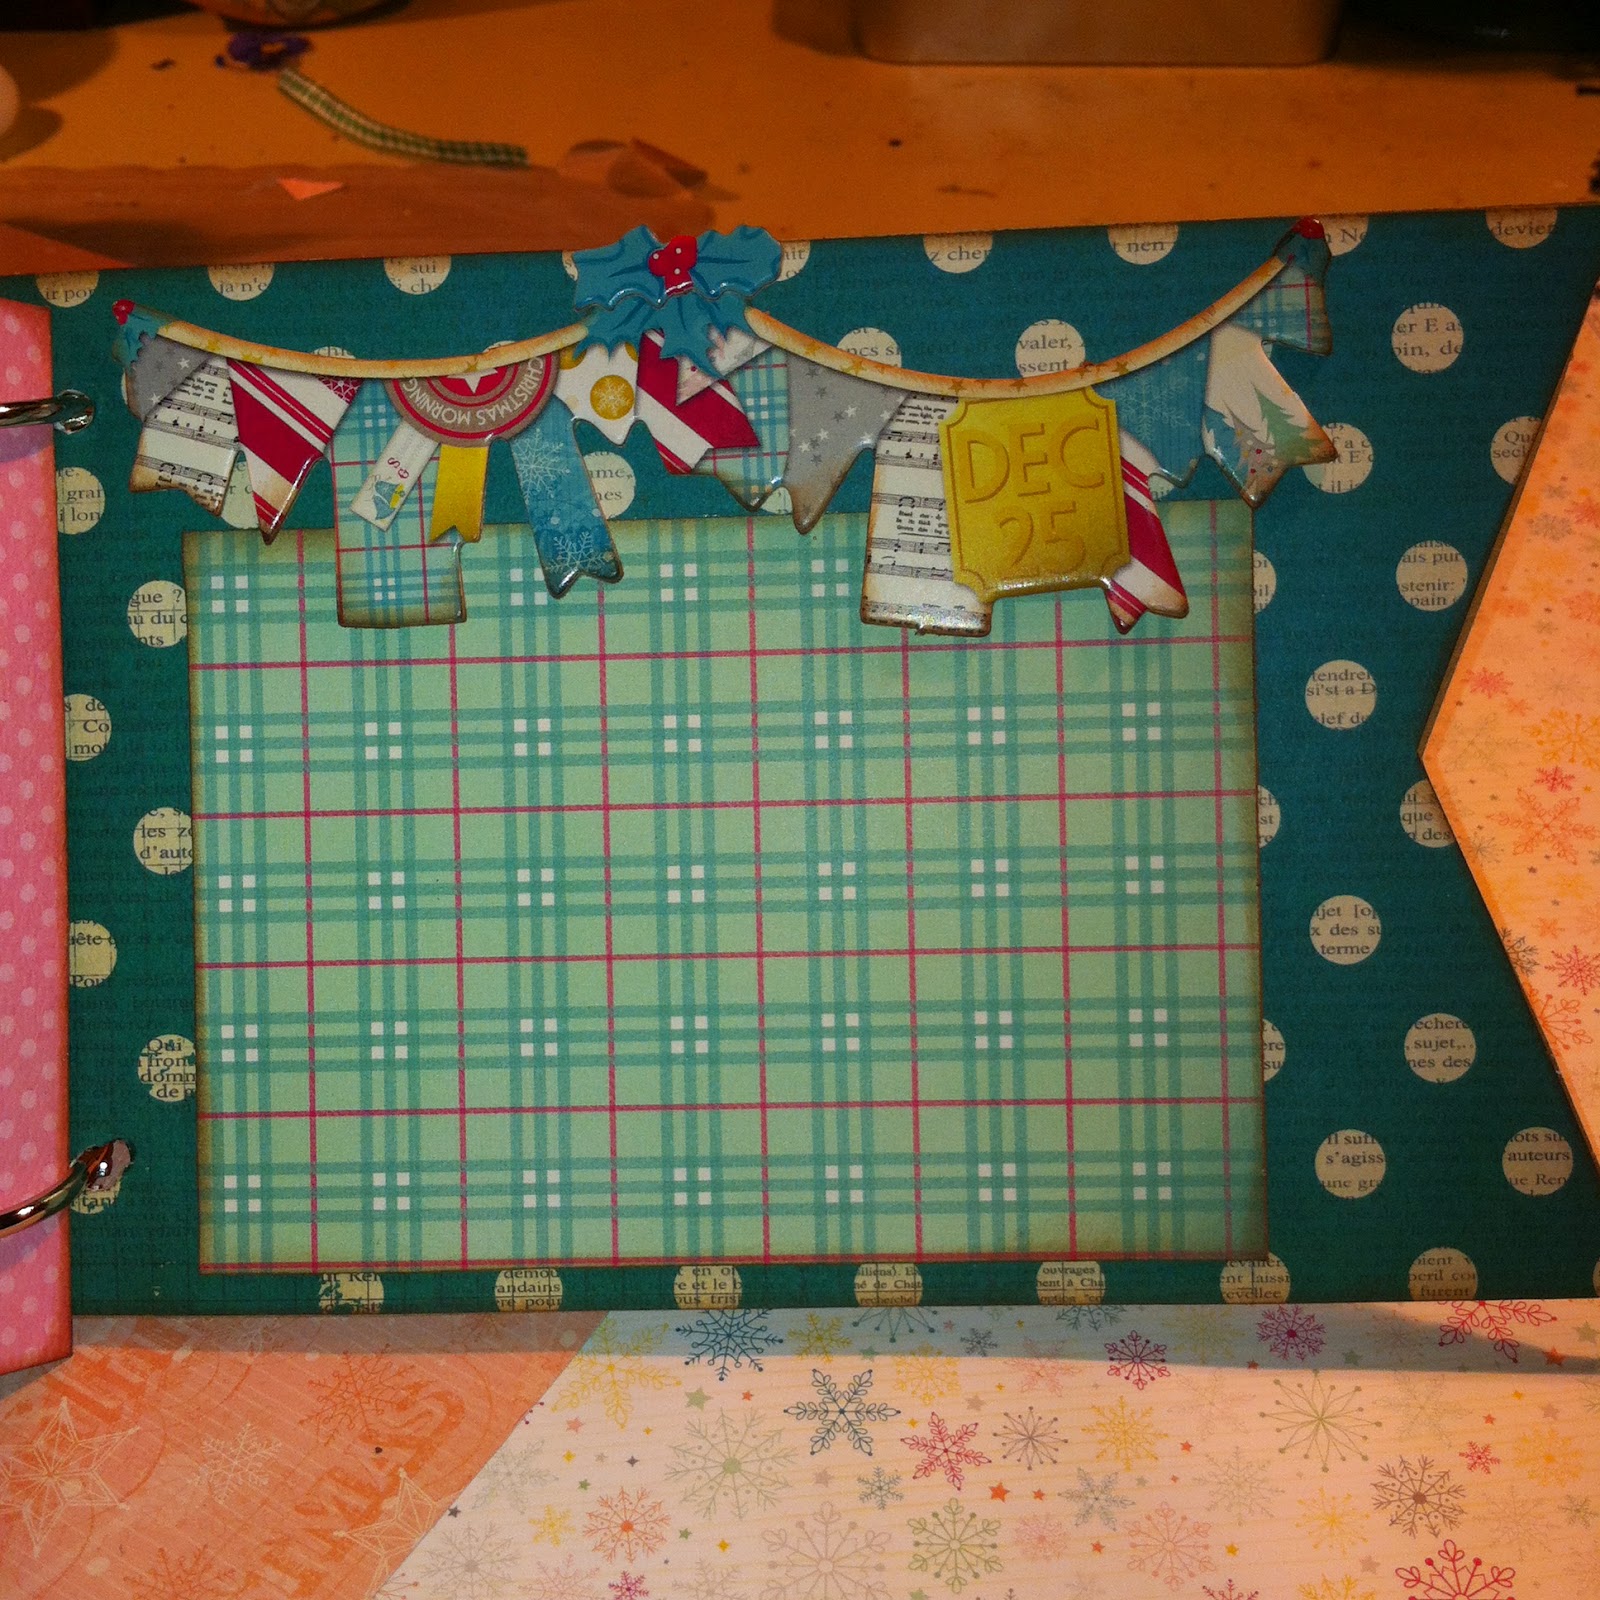
Page 2
Cut the page with the pennant edge
The paper is a small snowflake print. I added the striped border piece and a photo mat. The BELIEVE is from the sticker sheet
Page 2 - back
The pocket is from a piece of the blue snowdrift paper. Punch the edge with a border punch and add the little stripe piece along the edge. Add the layered sticker and the chipboard sticker. Add a little photo mat and a tag in the pocket
Page 3
Add background piece and photo mat.
Add tree sticker and layer the little ornaments on the tree. I went further and added stickles to glitter all the ornaments on the tree. On the back of the tree add a little scrap of printed paper to the top so the sticker won't attach to other elements. I also tied a little piece of ribbon to the tree at the narrowest point to reinforce it and make it stronger.
Page 3 - backside
Add pocket and a mat on the pocket. I put one of the large cards from the element sheet in the pocket. Add a crystal snowflake to the top of the tree.
Page 4
Add pocket to page. Add photo mat and a sticker to the pocket
Page 4 - backside
Add small border to the inside edge of page. Tuck photo mat slightly under the border. Make this mat into a pocket and add tag with a punched border to the pocket.
Page 5
Add pocket to the page. Add mat to the page and a tag to the pocket.
To decorate this page I added a piece of chipboard sticker I had trimmed to fit here and layered other stickers on top.
Page 4 - backside
For this page I ran a border across the top of the page. I tucked the mat slightly under the border I added the stickers as shown.
Page 5
Add a pocket to this page. Add photo mat to the page and put the tag in the pocket. Add stickers as shown
Page5-backside
Add pocket, photo mat and tag as shown. Add stickers to pocket (I cut apart a long strip to make individual stickers. On the tag I put two stickers back to back.
Page 5
Add pocket, photo mat and tag. At the top of the tag I trimmed a sticker to form a frame and backed it with a stamp sticker.
Page 5 - backside
Add a narrow border and a photo mat. decorate with stickers as shown.
Page 6
Add a pocket and a photo mat to page. Add a tag with a crystal snowflake to the pocket and a tag in the pocket
Page 6 - backside
Add a pocket, photo mat and a tag in the pocket
Page 7
Add a small border and a photo mat to the page. Add a tag sticker and photo corner stickers to the page.
Page 7 - backside
Add a small border to inside edge as shown. Photo mat is a pocket. Leave the left edge open Insert tag behind photo mat. Add stickers as shown.
Page 8
Add blue paper to the inside of the corrugated paper for the back of the book. Add a photo mat and sticker as shown.
Bind your book in which ever way you have chosen.
Let's finish the front.
Glue snowflake to front of the book. You will be placing the snowman tea light so that the switch is inside to spot you cut out of the snowflake. Be sure to center your snowflake over the opening for the switch.
Glue the tea light in place with hot glue gun
Add a bow to the front of the snowman
A little earmuff action on this snowman
Add stickers and snowflakes to the front of your book.
I hope you enjoy this project as much as I did.
always,
michele
No comments:
Post a Comment