We are going to work page by page on this little book. It is adorable and it is not difficult to create.
First let's talk about your kit.
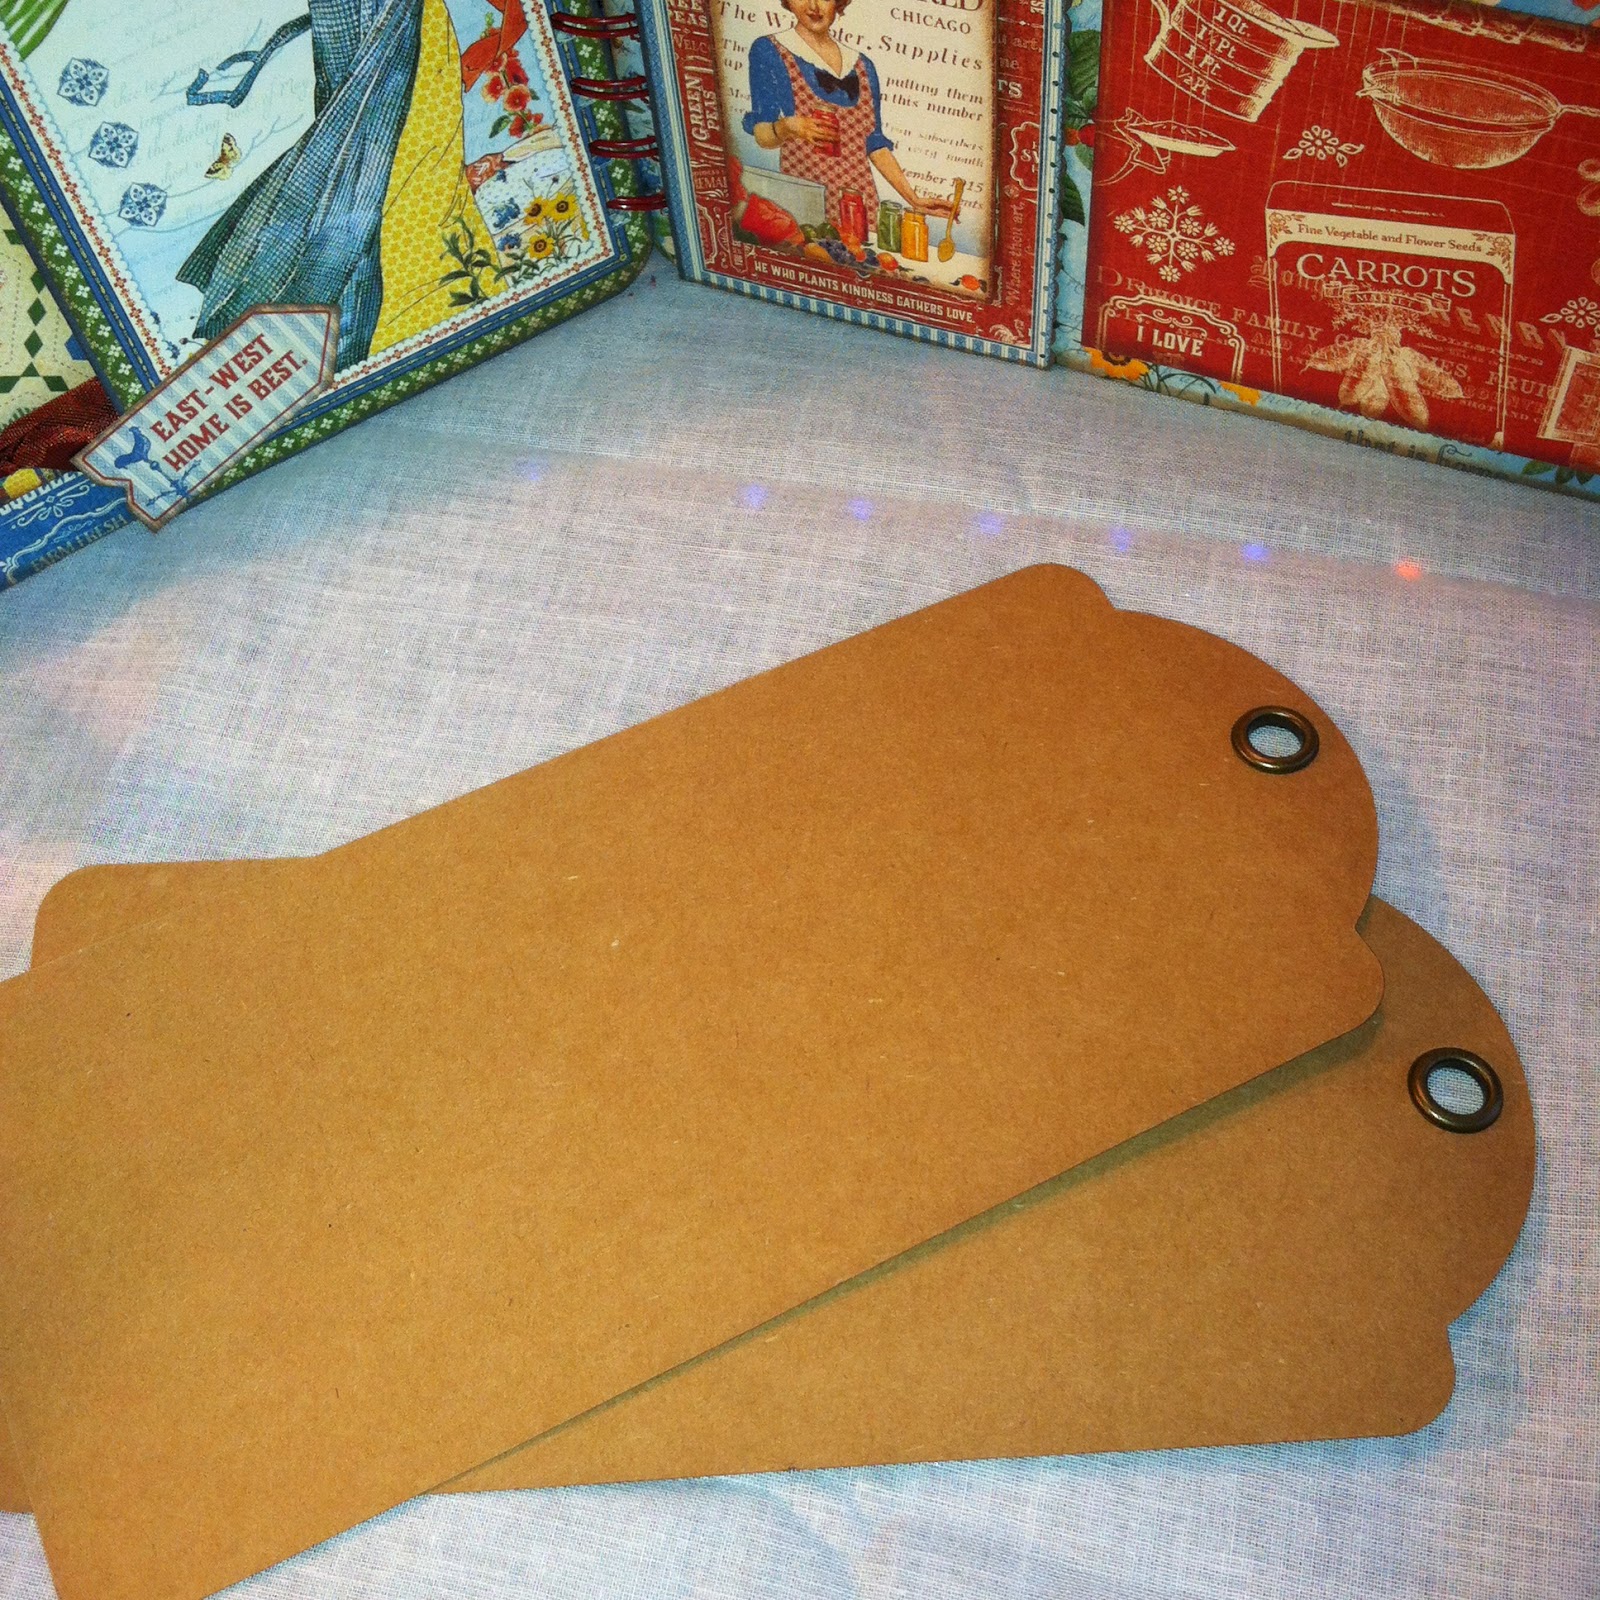
The papers for this book are all cut and stacked in order. You have a front and back page that look like this:
Not only are these for the front and back covers but you will cut the interior pages using this as your pattern.
Also in your kit are two packages of embellishments and ribbons for your kit.
You will need your own adhesive and foam tape or pop dots, ink for edging your pages (I use chestnut roan chalk pad) and your other tools
These papers will become your pages. They are approximately 4"X9" and these are the pieces you will trace and cut.
Front and Back Covers
These pieces both have the veggie paper on them. The back has nothing further on it.
The front cover has the half circle with the scallop edge on it. To make this take the half circle and glue the little circles along the curved edge. If you glue them half on the scallop is just perfect! I added the chipboard piece to the center and popped up the HOME SWEET HOME. I added the little strip of paper along the bottom.
Inside cover: use the blue plaid to cover the inside cove of the book. Use the little Home card to create a pocket at binding edge. You will find two small pieces one is a red mini print and the other is a floral. The floral will be a tag. Clip the corners and punch a hole for the ribbon in a tag. Insert into the pocket. The red piece will be a photo mat or a place for a recipe.
Page 1
Find the card shown. I did nothing but round the corners on the binding edge on this card front. On the back of the card I added a photo mat (shown) with some ribbon around the bottom.
Page 2
The front of page two has a little card on it and a chipboard piece at the top. The back is left as is with the exception of a little chip board piece at the bottom
Page 3 front
I cut this page from the lite blue floral. You will place the two red mats side by side on the page ( the small mat is a card). You will pop up the small picture of the homemaker over the small card
Page 3 back
Use the small blue floral as a mat and the blue floral as a pocket. I popped up the little country gentleman picture on the pocket and the recipe tag goes in the pocket. I tied a little piece of green ribbon around the mat.
Page 4 front and back
I did nothing to change the front of the card used for page four. On the backside I used a little red check print for a mat and made little corners on the mat from green ribbon. I used a little chipboard tag at the top
Page 5 front and back
This page is made from the large stripe piece. Trace and cut this piece
On the front I added a red recipe card (you have extras) and used one of the pockets from the packet of tags, pockets and envelopes. On the back I used the apple pie card and a little tablecloth print mat with a blue piece of ribbon.
Page 6 front and back
This is another card. On the front of the I added a smaller card and a piece of chipboard. Now before you tear apart your kit I realized as I was doing this tutorial I did not put the black brads in the kits...darn. If you do not have something else you can use to replace these I will put them in an envelope and send them to you. On the back I didn't change a thing.
Page 7 front and back
I used a card for this page. I didn't change anything on the front. On the back I added a cute little blue mat and three stamps all popped up!
Page 8 front and back
I used the quilt paper for this page. Trace it and cut it out. You will find a triangular piece of the tablecloth print. I used pinking shears to do a decorative edge on mine. You choose how you want to do this.
Adhere the triangle to the page. Find the piece of green print. I left this larger than in the picture so you have the option to either cut it down or leave it larger for a photo or recipe. The little pocket is from the embellishment set. and the chipboard piece is in the center.
back:
I used the small quilt piece to make a pocket on the binding edge of this piece. I used a seed packet piece and popped it up I used another one of the pocket on this page with a small chipboard piece on top. The tag in the pocket is from the embellishment pack. The little stamps are chipboard.
Page 9 front and back
I used the yellow veggie paper for this page. I used the Farm Fresh card popped up over a red mat and an envelope embellishments on this page. The little chipboard stamps go at the top of the page.
back:
The back of this page has a little yellow pocket on the binding edge I used a chipboard tag on the pocket I added a blue mat with yellow ribbon across the bottom. I put a green recipe card in the pocket.
Page 9 front and back
I used another recipe card for this page. The front is unchanged. The back has a pocket using the Home Sweet Home card. I put two of the tags from the embellishments in the pocket.
Page 10 front and back
I used the blue floral with the yellow background for this page. The front has the yellow facing front with a blue floral pocket . I used 3 little chipboard pieces to decorate the pocket and a card on the page. I put a blue recipe card in the pocket. On the back I used a red recipe card and two chipboard pieces as decoration.
Page 11 front and back
The front of the card is unchanged with the exception of a chipboard tab at the top of the page. The back has a mat from the quilt paper with ribbon across the bottom. At the top I have added another tab back to back with the one on the front.
Inside back cover has a recipe card on it and two chipboard embellishments.
FINISHING:
You will have to decide how you want to bind your book. In class we will be using a Zutter Bind-it-All to bind the book. There are other ways to bind the book and one of the easiest ways is to punch each page and use hinged rings to bind it.
However you bind the book you will add any leftover ribbons to the binding and tie the extra chipboard pieces to the binding
Punch and time ribbons on each page if you want to. You have a total of 8 yards of ribbon in your kit so you should have plenty.
Enjoy your kit and if there is anything more that you need please let me know at