"Hey Michele! What's a never-ending card?"
Let's get into it...Lets learn how to make these!
If you got one of our amazing never-ending card kits you have twelve (12) sheets of G45 papers to decorate your cards, three (3) completed card bases, three (3) cut card bases and 6 half sheets of cardstock. If you didn't get the kit you will need 12X12 cardstock and printed papers to decorate.
This post is picture heavy so take your time!
Cut a strip of cardstock 6" wide x 12" long....any cardstock or printed paper will work.
Score cardstock 1 1/2" from each long edge.
Cut into four 3" pieces across the width.
fold along the score lines
flatten back out again. When you lay out your cards you will line up two sections at a time.
Using either washi tape or painters tape you will line up to sections and tape them together with the long edges lined up to make a 6" x 6" square. You will need two of these for each card. Lay your first joined piece tape down on your work surface with the center horizontal.
Line up a second square and lay it over the first section with the center going vertically and the tape on the top.
Using a really good glue (no glue sticks please) like zip dry we will glue at the four corners.
Fold back the top piece to reveal the corners underneath...put glue at the corners only and put the top piece back in place over the bottom piece
I hope this is making sense...you are gluing two 6" squares together at the corners...the centers of the bottom piece runs horizontally and the center of the top piece runs vertically.
When your glue has set you will open and fold.
Opening your card for the first time will be stiff...don't create a new fold! Just fold along the existing score lines. Crease well with a bone folder.
First open in the middle to the sides as shown above
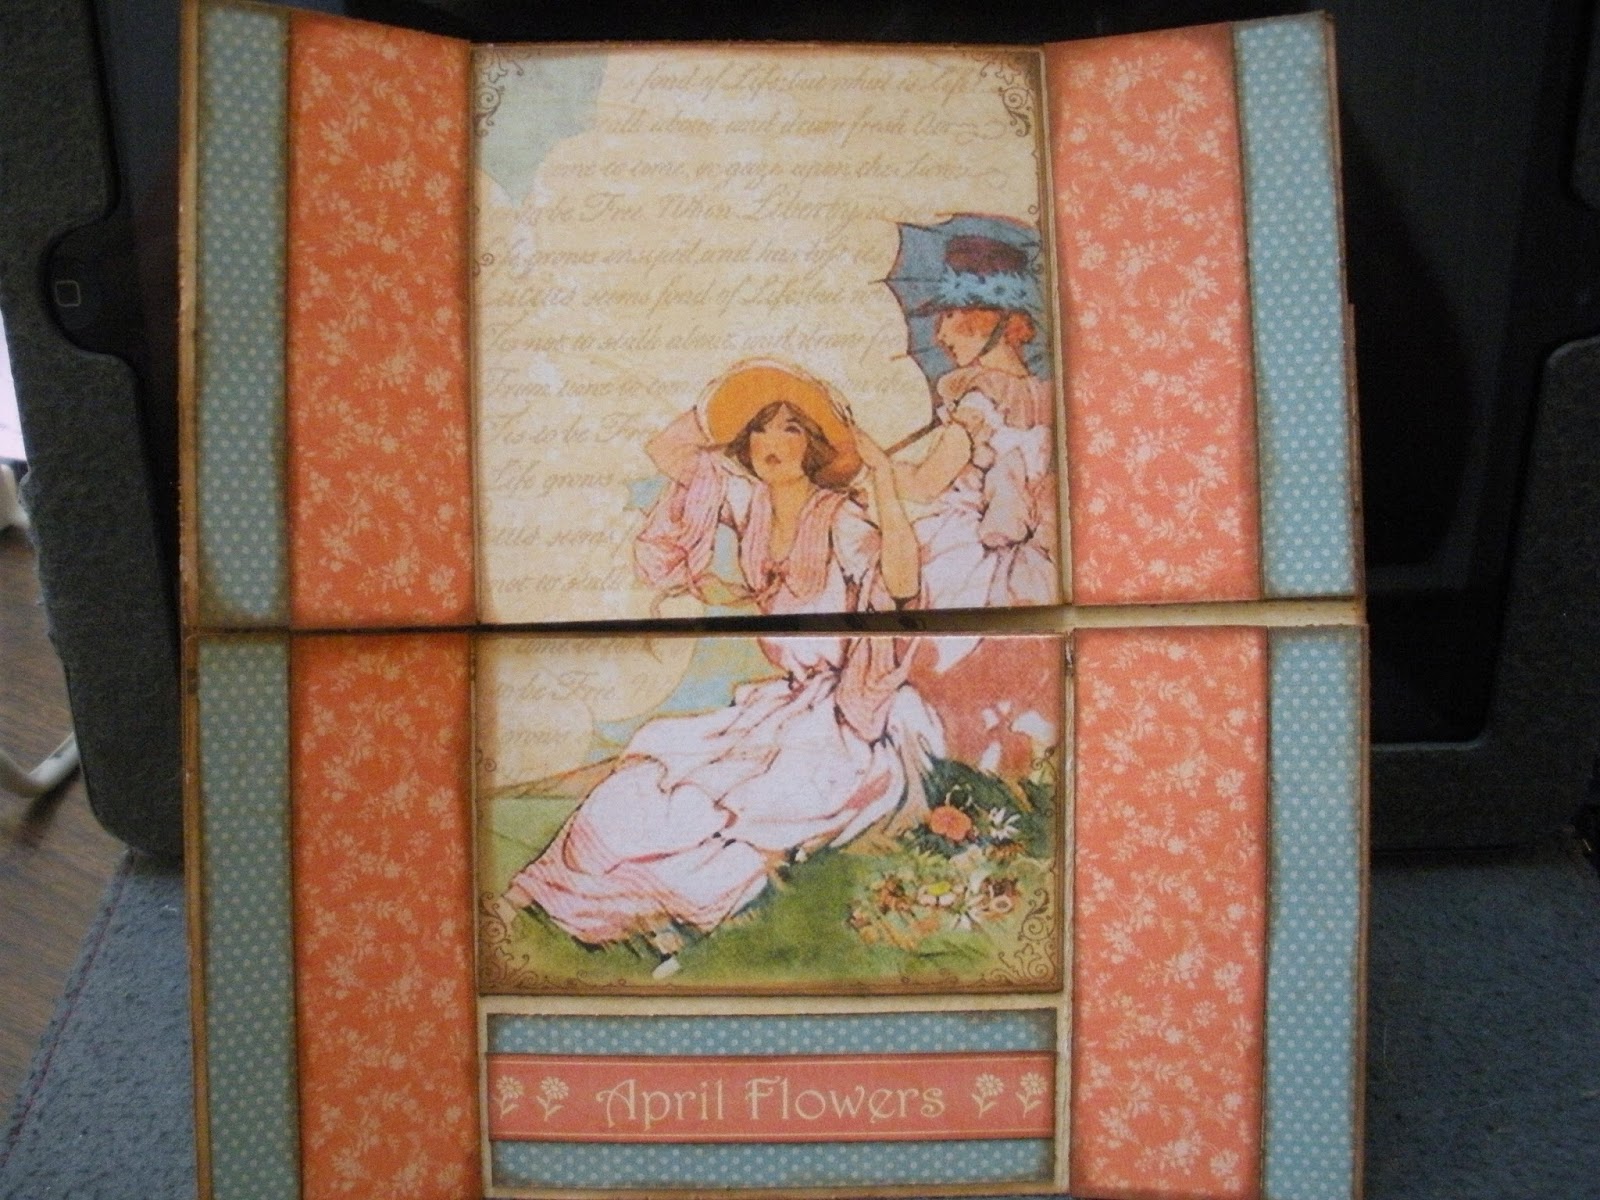
Second fold is up and down and this is what it will reveal (above)
Third fold is side to side again and will reveal this (above)
the last fold is up and down and back to the beginning again...now it is time to decorate!
Now lets walk through some decorated cards...
This card is built on a black base. I used a few extra scraps of paper I had at my desk to flesh it out and fill it in.
Decorating your cards requires you to really know your measurements...You will need the following pieces to decorate a card
8 - 2 7/8"squares
8 - 1 3/8" squares
8 - 1 3/8" x 2 7/8" rectangles
Card 2
This card is built on a brown base...I punched a decorative edge along the front of the card with an EK Success border punch.
Tip: Use both sides of your papers to decorate.
Card 3
This card was built on one of the premade bases (I am sorry you do not have March premade...we didn't have enough paper so choose one of the others.) Your March will be done on the green cardstock.
Card 4

This is built on one of the printed paper bases you will put together...so cute!
Card 5
This card is built on a kraft paper base. Sorry I didn't turn the last picture the right direction...oops!
Card 6
This card is built on a black base and again I used some paper scraps I had around to fill it out!
Card 7
This is another card that is built on a printed paper background...this time try some layering and popping up some pieces. Ready...Set...Go!
Card 8
This built on one of the premade card bases. I think you will rock this card!
Okay...I have helped you through eight cards...these last three are up to you to create!
Have fun and if you have any questions just leave them on this blog
always,
michele


