
All the kits are ready for this workshop and Danielle and Vicki are here working on their books and George is here making my day even sunnier!

That leaves me one more task to get done this week. I have to get this tutorial up online for those of you who skipped class in favor of a day in the sun!
Constructing your Cover
In your kit you will find two book cover pieces...notice I have taken the spine off the book..there is a reason for this and I will explain. By happy accident my book spine came apart before I got a good start on this project. I took it apart and voila a new technique!
1 Ink the edges of your book covers,
2. Put the decorative paper on the front cover. Ink the edges.
3. turn this piece upside down and glue the inside paper to the inside cover...This is going to be much longer but just keep going and it will all make sense!

Now glue the other cover to the bottom of the paper...keep your edges even and make sure everything is inky.
The next step is the outside cover.


Let's work on the inside now.

Inside back cover: You have a corrugate piece and a plaid piece in your kit. I left them large for a larger picture but you can trim them to any size...it is all up to you

Inside front cover: You will wrap green twine around two kraft mats...I used the larger of the kraft mats. Glue them in place at a little angle.
We are going to work from the left set of pages to the right set of pages
Left 1:

Your first page is this little card. You will cut it out of the sheet with all the cards.
You have in your kit six manila cards - three have tabs and three are plain. These will be the bases for some pages...I will let you know which ones!
So your first page is the little trailer card. The second page (pictured below) is built on one of the tabbed pieces. It is plaid on the front and a word print on the back. I stapled a long piece of ribbon around both sides leaving a little loop on the outside edge.


Page 3
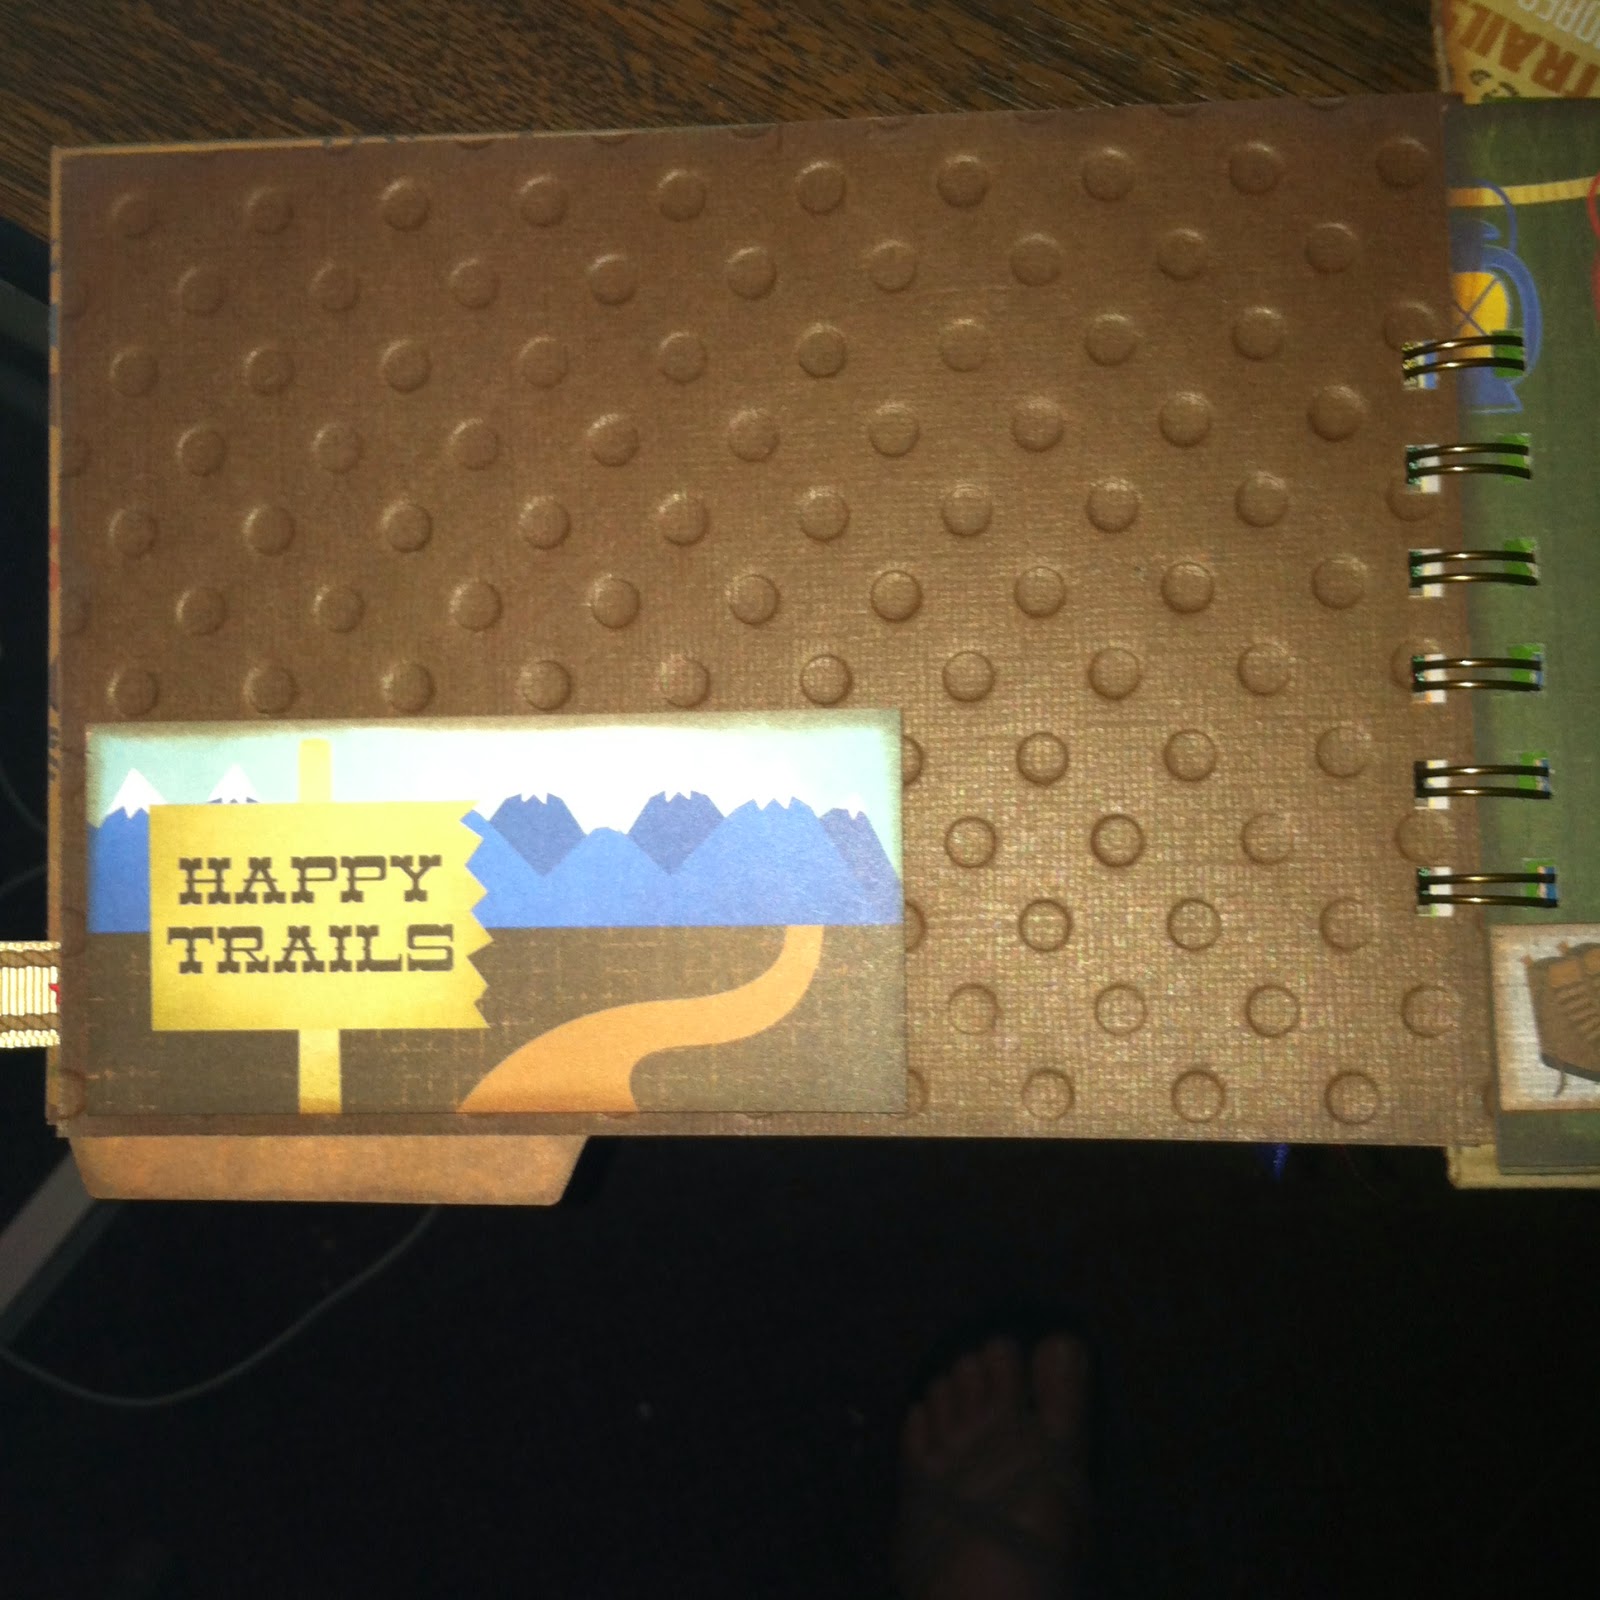

next you will add the little Take a Hike Card and the piece of brown embossed cardstock. Glue the little strip "Happy Trails" from your strip sheet to the bottom of the brown cardstock. On the other side of the brown cardstock glue or pop up the little card that says Happy Trails.
Page 4


You are using another tabbed piece for this page. On the front you will glue the little lantern piece and the backpack border across the bottom....DO NOT CUT THE STRIP OFF!...Glue the multi color equipment patterned paper to the back side. Wrap that border piece around and pop up the acorn square at the end.
Page 5


Use the embossed green card stock for this page. On the front is a border of hedgehogs (love them). On the back is a small corrugated mat and another decorative card that is popped up.
Page 6


This is the last page built on a tabbed card. On the front use the burlap printed paper and add the tree border across the bottom. On the back use the paper shown above and the smore border across the bottom. I treated the smore border as a pocket to hold pictures, favorite camping recipes and what ever else you have.
Page 7


Use the blue embossed cardstock for this page. On the front add the border of lanterns to the bottom of the page. On the back use the rest of that strip across the top and then add the small lantern card to fill in the empty space. Pop up this element.
Sleeping Bag Pockets

You will be making two of these sleeping bag pockets. Using the little bag in your kit put the bottom of the bag to the left. Open the top edge from top to bottom with your scissors. to get the right curve put the piece of paper you are covering the front of the card with insde the envelope and trace the curve..you may be trimming off some of the side as well...use pinking shears to cut the curve. Glue the zipper inside the open edge. Add a little corrugate mat to the front and back. You have a kraft cardstock piece for the tag inside the bag. Ink it well. Find the little pillow piece (I have drawn a pillow for you to cut out). Cut and ink this piece. Pop it up on the top edge of the tag and put it in your sleeping bag.
Repeat this for the other sleeping bag but when opening the side keep the bottom of the bag to the right.
Right side of the book
Page 1
 f
f
First piece on this side is the Mountain Explorer card.


This page is built on one of the plain cards. The front is one of the patterned pieces. You will glue it in place and then add a small mat and the Campfire Stories card. I popped up the card. The back side is covered with a piece of burlap printed paper. The card at the bottom is popped up!
Page 2

First add the tree card.


This page is built on the orange embossed cardstock. You will find a strip with foot prints along the bottom in your kit. This strip goes along the bottom of this page. On the back side you have a small strip along the bottom and a embellishment square with feathers popped up.
Page 3


This page is built on one of the blanks...The front is burlap with a plaid strip and a narrow strip over it along the bottom. Pop up the compass in the lower corner. On the back site take the smaller piece of plaid and glue it in place. Add the tree border to the bottom. Add the small piece of corrugate to the side.
Page 4


This page is built on the piece of red cardstock. Your corners are not included. They have to be punched from the leftover strip of wood grain.
Glue the strip of wood grain across the bottom of this page. Staple a piece of ribbon to the bottom of that. Punch the corners and glue them in place to the back of that page.
Page 5


This is built on the last of the bases. Cover the front with the patterned paper shown. Add a mat and a little strip to the bottom of the mat. On the backside find the paper with the campfire and add a photo mat.
Page 6


Make the other sleeping bag.
You have all your parts and pieces ready and in order. Punch each page with the zutter...I centered each page.
Punch the cover on the sides and put your book together.
If you need help with zuttering the book come to the shop and we will help you.
Enjoy your book and enjoy camping this summer!
No comments:
Post a Comment